DIY Rapunzel birthday party
Most people who know me will know that I would never describe myself as artistic – artistically challenged, maybe, but never artistic! So why on earth did I sign myself up to create and host a Rapunzel-themed party for a 6-year-old?
Simple really; because memories can last a lifetime.
I have a very good relationship with both of Will’s girls and dedicating time to creating a birthday party they will enjoy and (hopefully) remember for many years to come, is far more up my street than simply buying presents.
Towards the end of June his youngest turned 6 and I wanted to create something a little bit magical for her. Her favourite Disney princesses are Elsa, Rapunzel, Moana and Anna, and knowing this helped me make my decision.
I was toying between the three choices (and Pintresting HARD) but when her mum let us know that she was throwing a Frozen party for her (complete with bouncy castle, face painting, glitter tattoos and a real-life Elsa who would turn up and sing to her!) that ruled out Frozen.
Rapunzel immediately makes me think of A and after much deliberation, she is the princess I settled on. I set to work, giving myself plenty of prep time (I started in April!) and tried to keep my expectations as realistic as possible.
If you would like to jump ahead to any of the items in particular then you can do so by clicking on any of them in the list below:
Welcome sign
Bunting
Lanterns
Giant A sign
Wanted sign
Hanging decorations
Maximus & his apples
Rapunzel’s tower
Magic flower juice
Paintbrush snacks
Birthday cake, complete with tower
Rapunzel braid
Rapunzel dress
Otherwise, I hope you enjoy reading about how I brought this party to life, and I would love to hear any feedback in the comments!
Welcome sign
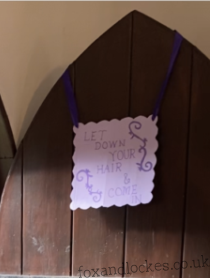
I loved the idea of having a welcome sign because the birthday party was a surprise, and having this hanging on the door when we got home as a little nod of what was to come was so fun.
For this craft you will need cardboard, scissors, a pencil, purple paint, a thin paintbrush, a purple felt tip and some ribbon. I drew my outlines in pencil before cutting around the edges and then painted the whole thing purple. I then drew on my swirls and painted them in a darker purple.
My paintbrushes are old and the bristles don’t all point in the same direction so I found this harder than anticipated and it wasn’t as smooth of an application as I would have liked. This is why I switched to a felt tip pen for the writing; you could use a felt tip or paint for either element, it really does come down to personal preference.
I then used scissors to pierce two holes in the top corners and looped purple ribbon though both holes, tieing the strands of ribbon together behind the sign.
I cannot take credit for the design of this though as I copied it exactly from Pinterest – I cannot include a link unfortunately as it has been blocked “as it may be spam”.
Bunting
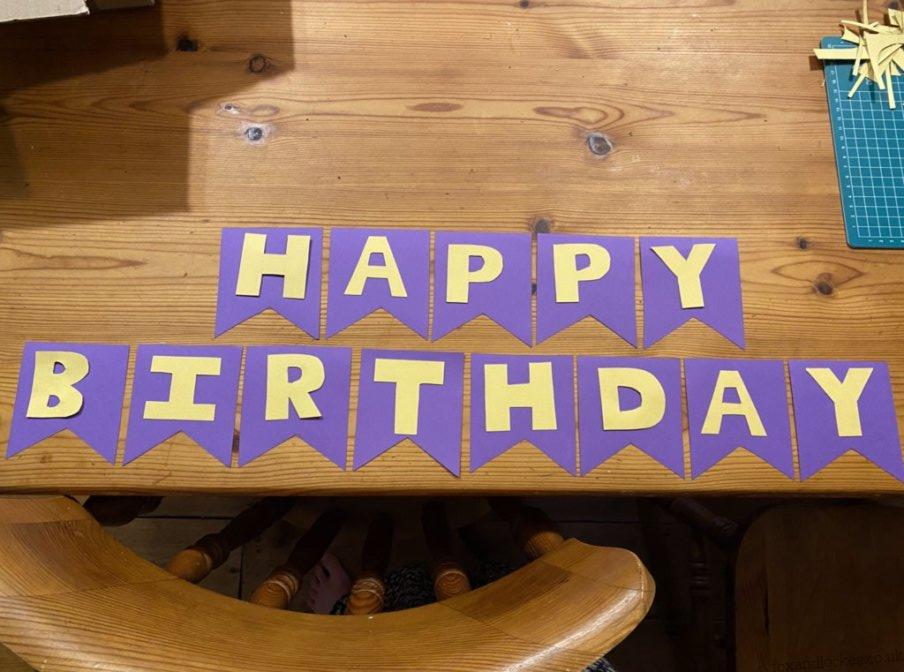
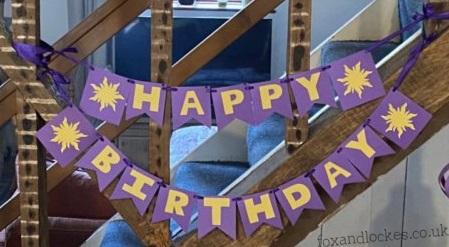
For the bunting I used purple and yellow card, tracing paper, a pencil, scissors, my crafting pad and knife, a hole punch, purple ribbons and a glue stick. I based my measurements on the space we had available to hang the bunting; yours may well vary from this so cut everything at an appropriate size to suit your needs and space. The basics of what I did are as follows:
- Measure and cut 13 purple ‘flags’ for the lettering and 4 squares for the Tangled suns.
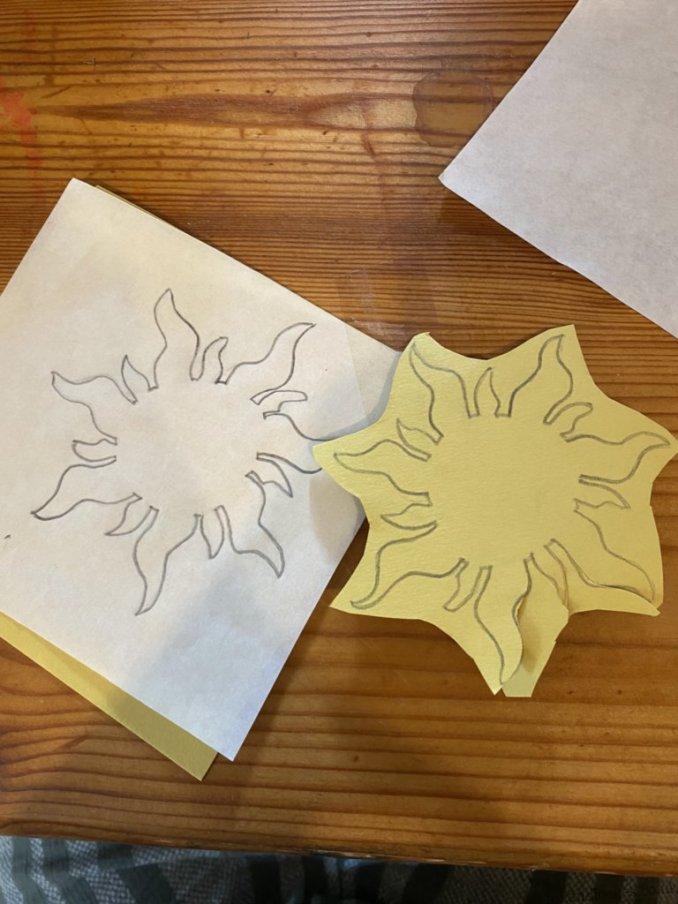
- Copy the Tangled sun onto a piece of tracing paper (at a size that will fit your squares) and copy this four times onto your yellow card. I found an image on my iPad and put the tracing paper on top of it on a flat surface to copy the image.
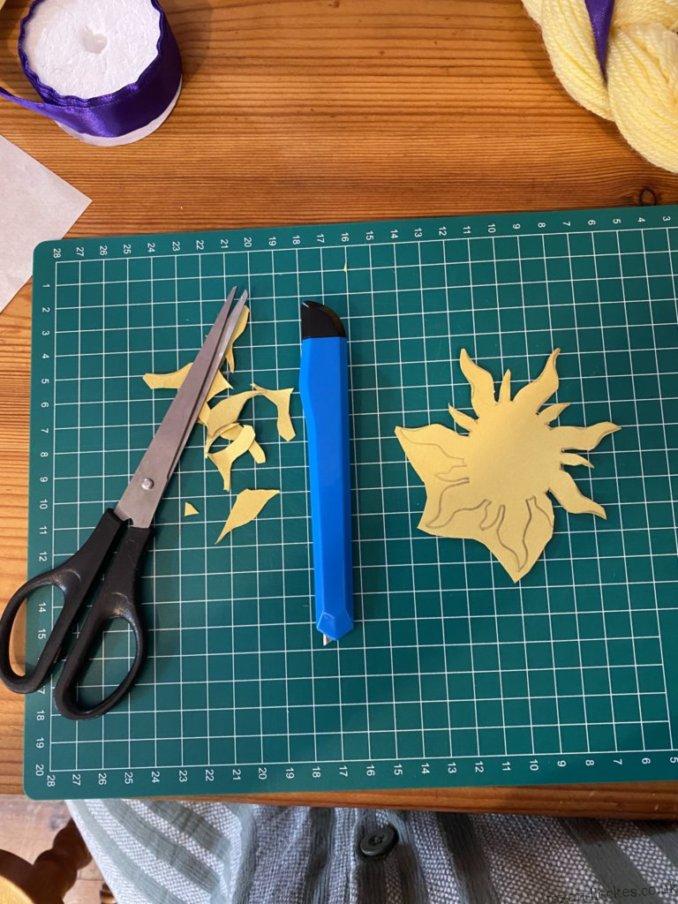
- Use siccors and/or a crafting knife and pad to cut around the sun shapes. This stage is time consuming and frustrated, fair warning.
- Measure out letters to spell HAPPY BIRTHDAY, again ensuring they are a suitable size to fit within your flags.
- Hole punch two holes into each of your purple pieces of card.
- Glue your letters and suns onto each piece of card, aiming for the middle each time.
- Thread the ribbon through each piece of card, leaving enough length at the end to tie it off.
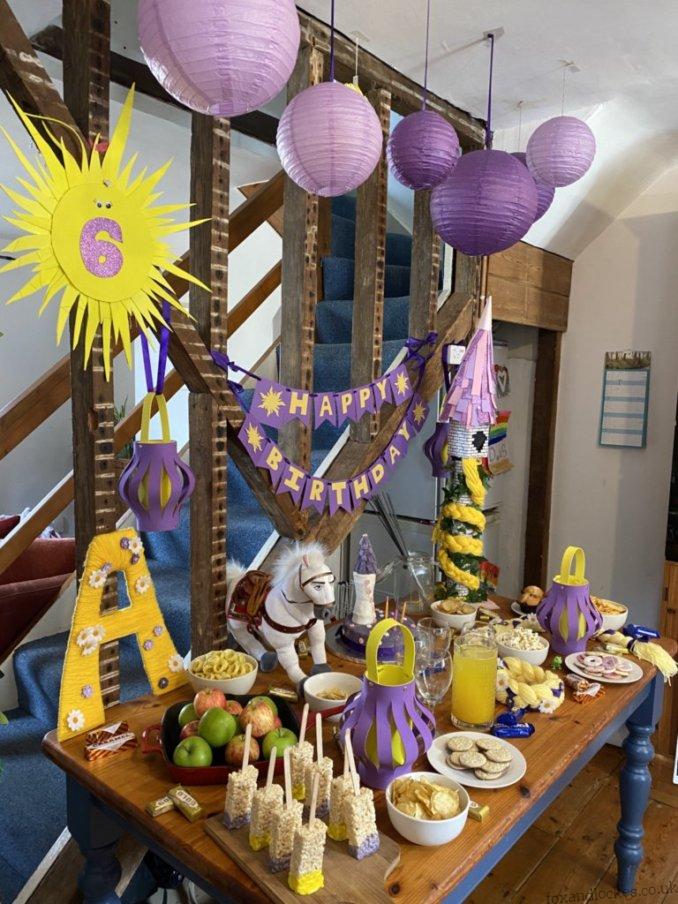
We were hanging the bunting on the wooden beams of our exposed staircase and I absolutely love how it turned out! I am all for reusing decorations and have every intention of repurposing this for future birthday parties.
Lanterns

These lanterns were one of the first things I saw when searching DIY Rapunzel parties on Pinterest and I absolutely adore them! I made the four of them at the beginning of May and I really love how they turned out.
For each lantern you will need a piece of yellow A4 foam paper and a purple one of the same size. You will also need a box of paper fasteners to hold the foam in place and a pencil, ruler and scissors for measuring and cutting.
I followed directions from here.
Giant A sign
I absolutely LOVE how this turned out! It was super fun to make and with such a sweet, personal touch to it, this can become a bedroom decoration that will last long after the party has ended.
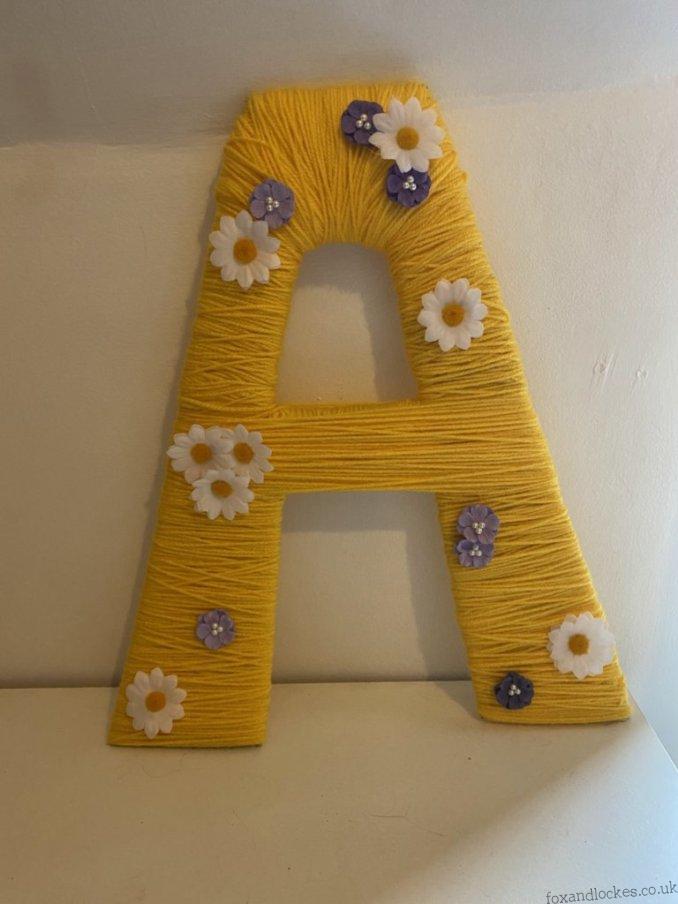
I drew an ‘A’ onto a big piece of cardboard and cut around it (this was before I bought the board and knife set and although I managed with scissors, it is significantly easier to cut cardboard accurately with specific tools).
I then wound yellow yarn around the letter until I was happy with the coverage and distribution.
I placed flowers on the A, rearranging them (and taking photos to compare different layouts) until I was happy with the positioning.
I used my hot glue gun to stick the flowers in place and left it to dry on a flat surface.
Voila, that’s all there is too it.
I love that you can choose coloured yarn and different accessories to suit whatever theme you want; I will be making these as presents for others in the future, I’m sure.
Wanted sign
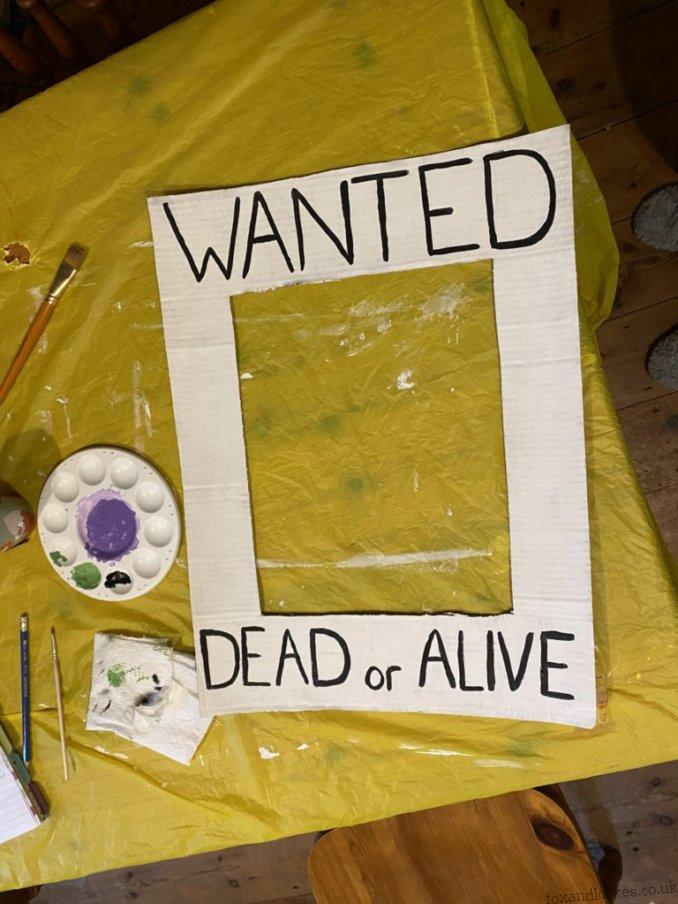
This one was probably the most straightforward craft, requiring cutting tools (a crafting knife and cutting board or a sturdy pair of scissors), a pencil, ruler, paints and paintbrushes.
I simply drew the outline onto a piece of cardboard, cut it out, painted the whole thing white (it took 3 or 4 coats) and then drew the words on before painting over them in black.
You could make this more detailed; the Pinterest images I saw all had stamps and swirly text but I decided to keep it simple with this craft – know your limits and all that!
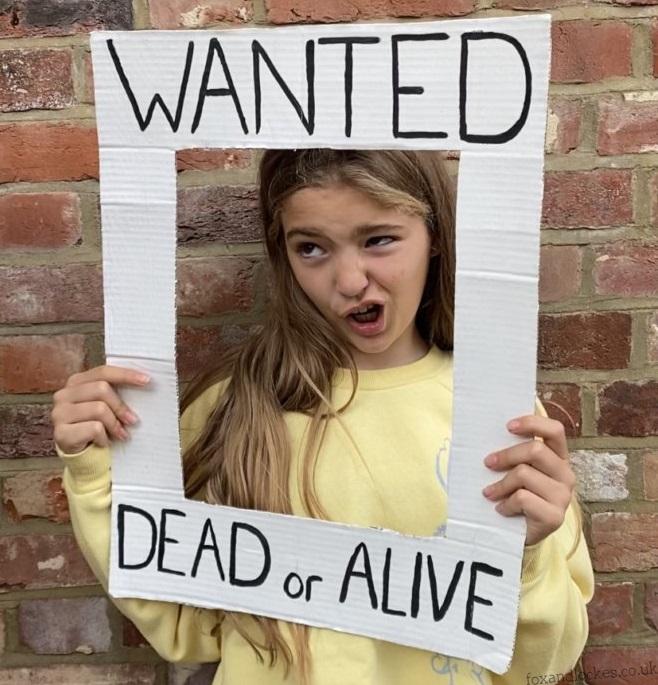
My cardboard was a little flimsy, so you may want to reinforce yours if you encounter the same problem, but I chose to leave mine on a flat surface in the lead-up to the party and as we were using it for photos I decided against reinforcing it as people would be holding the sign anyway and so we could work around this problem.
Will’s eldest had a great time doing her best Flynn Rider impressions!
Hanging decorations
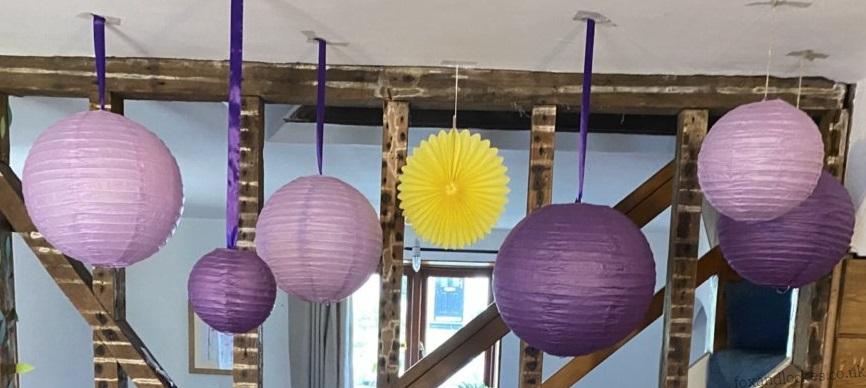
You have probably seen these decorations (or some variant of) on our blog before as we are big advocates for reusable decorations. Liv kindly let me borrow them and they added such a beautiful aesthetic to the space.
Some of them still had string attached from the last time Liv used them, but for those that didn’t I used purple ribbon and then cellotaped them all to the ceiling – not the most environmentally friendly approach but the only one I could think of at the time!
I opted for the different purples as well as the yellow fan, to imitate the sun, and we also had green leaves wrapped around the bottom wooden pillar, as a nod to Rapunzel’s tower.
Maximus & his apples
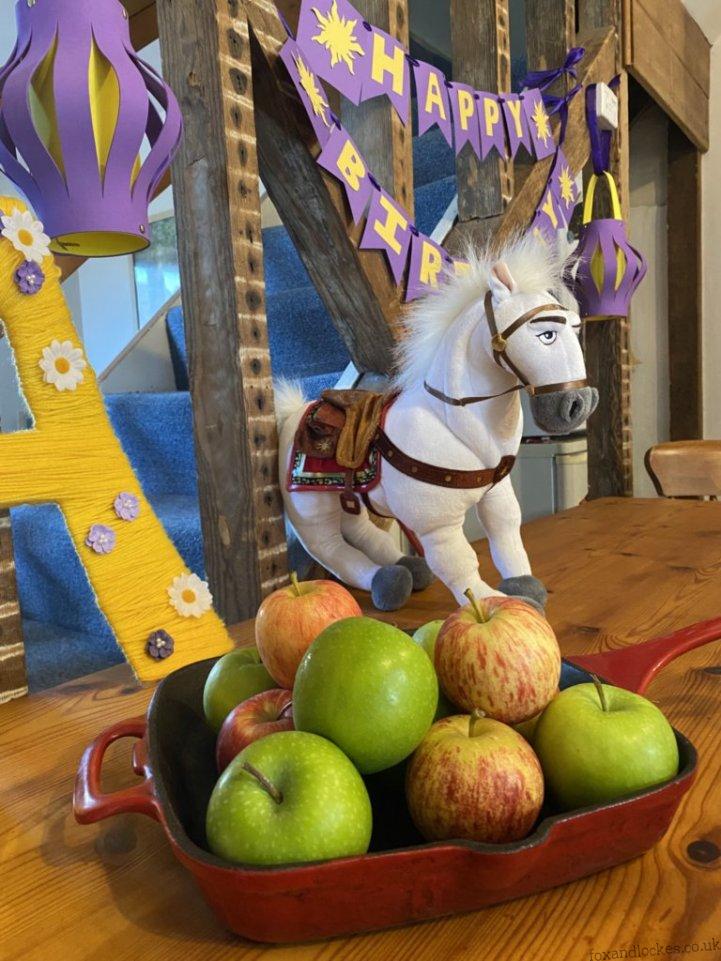
Whilst searching for Rapunzel items on the Vinted app I came across a Maximus teddy and decided it would make a good two-in-one gift, as it could be part of the party and also a teddy to keep afterwards.
We had him propped up on the table (he’s a bit unsteady on his feet) with a pile of apples next to him.
I did debate getting a Pascal as well but we do not have infinite funds and as she has a mini toy version in her bedroom already I decided to get him out for the party instead.
Rapunzel’s tower
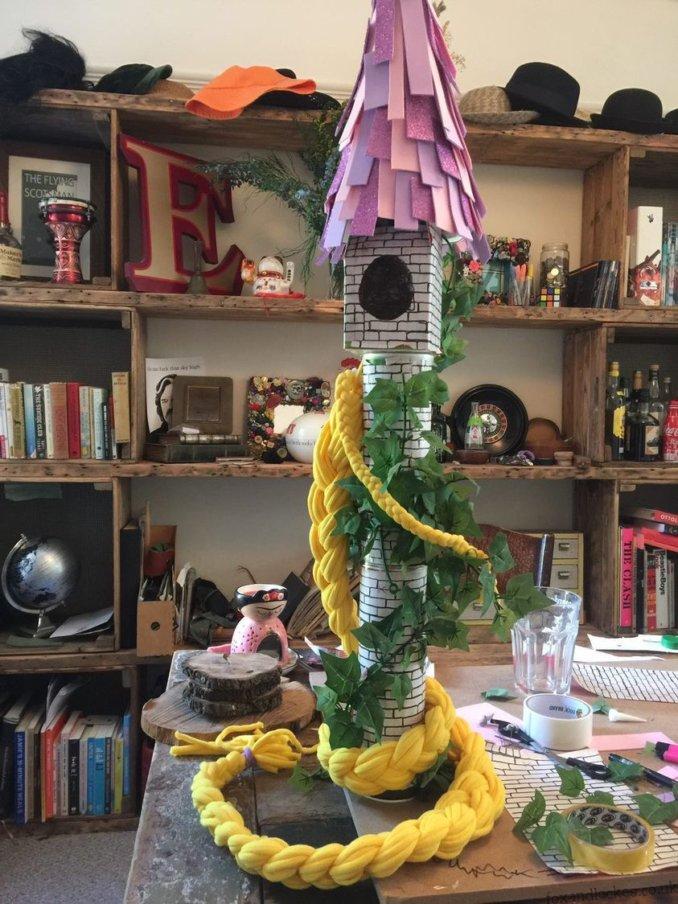
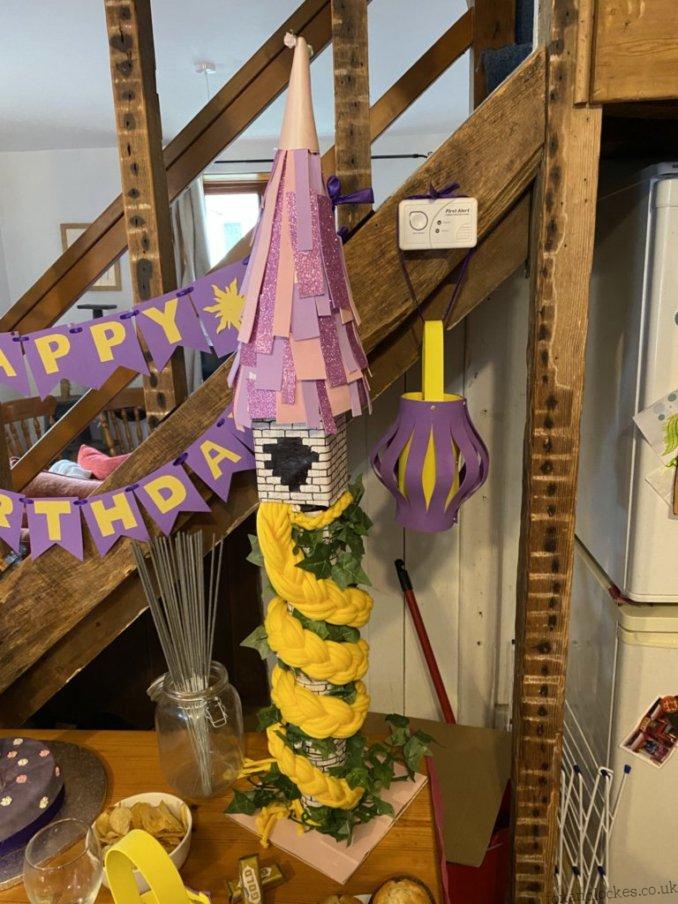
I am really sorry if this is the thing you were looking to get a tutorial on as I really can’t give too much away about this tower, as it’s the one craft I didn’t make. The girls’ Uncle Eden is incredibly talented and knocked this up in a matter of hours.
Magic flower juice
This was by far the easiest addition to our table but wonderful nonetheless. My magic flower juice was simply squash, served in a glass jug (borrowed from Will’s mum) and wine glasses.
Wine glasses may seem a bit extravagant for a 6-year-old’s birthday party but as it was a family party with only two children in attendance we had enough glasses to go around and I wasn’t overly concerned about them being broken. Besides, sometimes it’s nice to be a bit more glamorous than usual, and the girl’s loved drinking their magic flower juice from fancy glasses!
There was a lot of choice on the squash front in Tesco, but we opted for Orange & Mango. They did also have Orange, Tropical and Orange, Pineapple & Grapefruit, all of which would have worked as they are yellow as well.
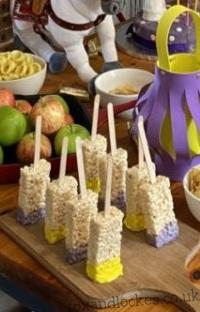
Paintbrush snacks
I love how simple this party favour is to make!
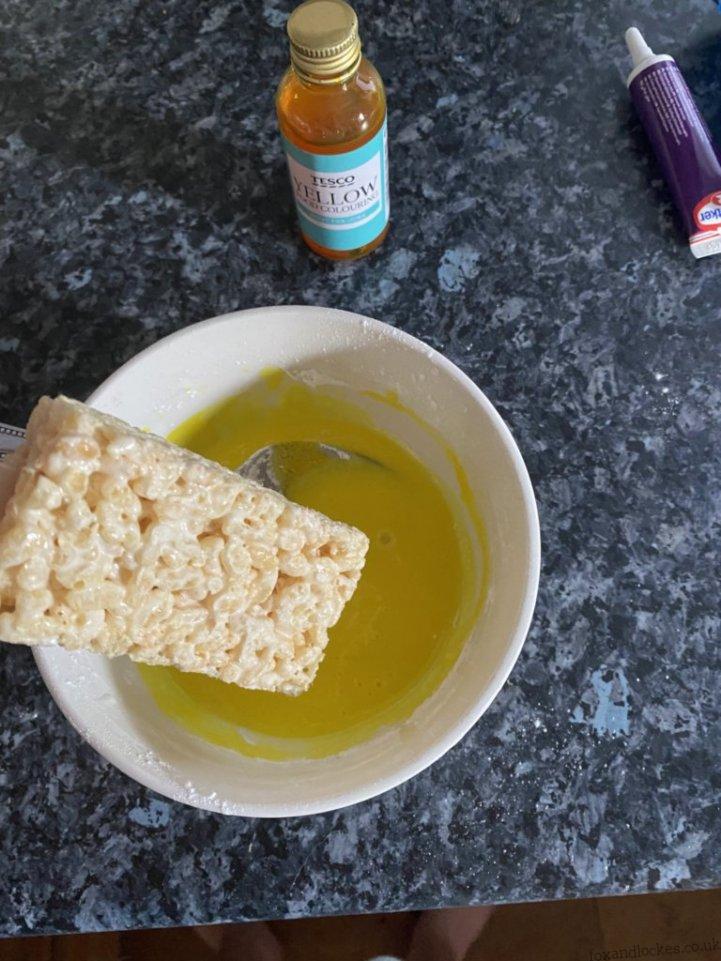
I bought wooden lolly sticks from Hobbycraft (I tried the Works and the Range first as I thought they would be cheaper but I couldn’t find any – if you know of somewhere cheaper to pick these up then please do leave us a comment) and squares bars from our local supermarket. I already had icing sugar and colouring for the cake so these came at no additional cost.
Method:
- Mix icing sugar with a little water until you have the desired consistency.
- Add your colouring and stir until it is well incorporated to the mix.
- Unwrap your squares bars.
- Insert a wooden stick about half way into each bar.
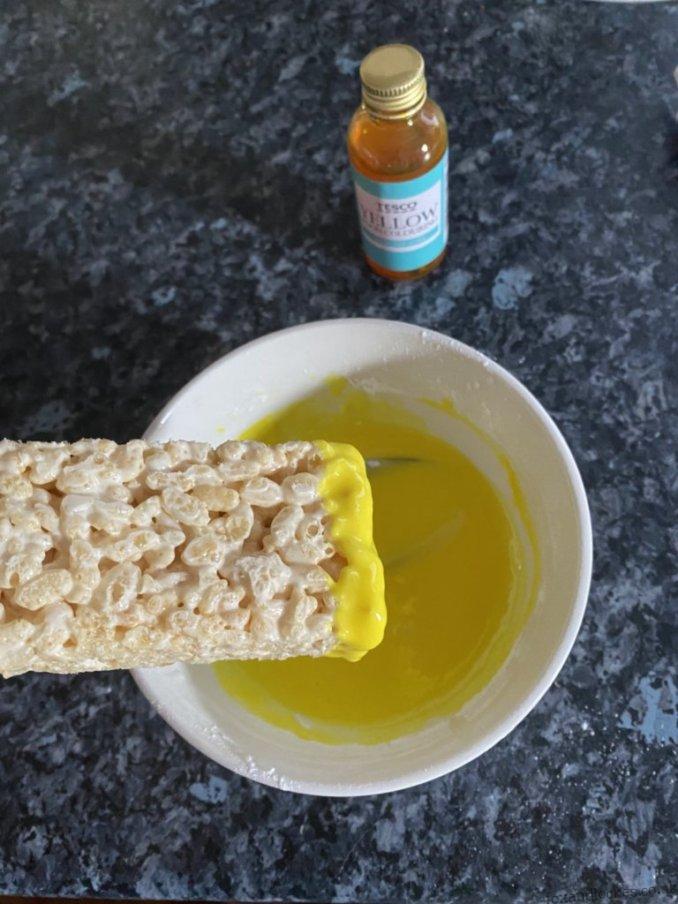
- Dip your bars into the ‘paint’ and leave to dry on a flat surface. I popped mine in the fridge as we were going to be out for the day and I didn’t want them to go stale.
- Arrange however you would like and add to your party table.
Rapunzel cake, complete with tower
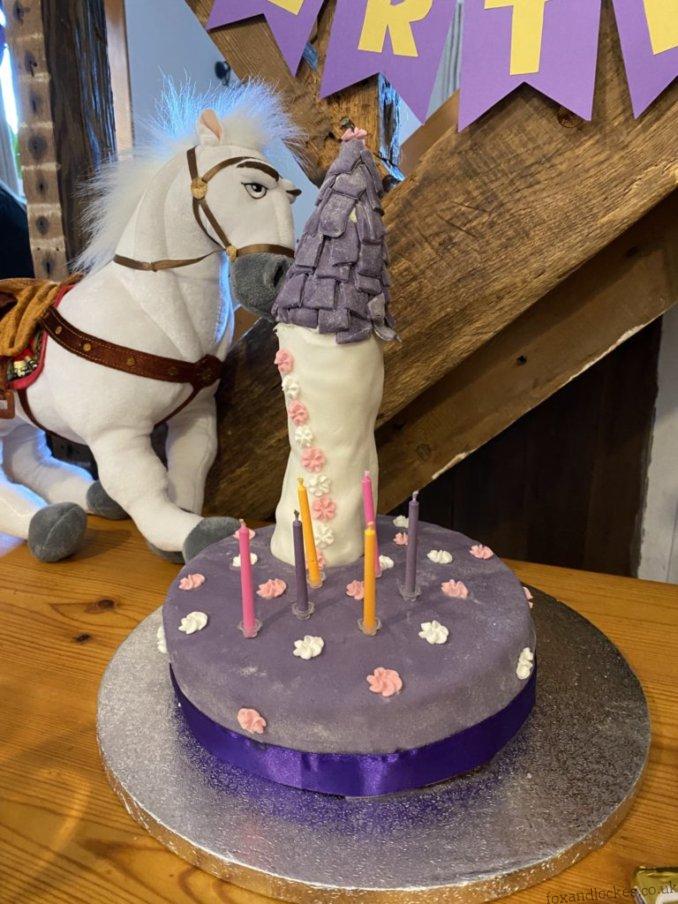
This was my first ever attempt at making any kind of fancy cake and it was a little bit of an Expectation vs Reality moment but the birthday girl was happy and it tasted delicious, which is the main thing after all!
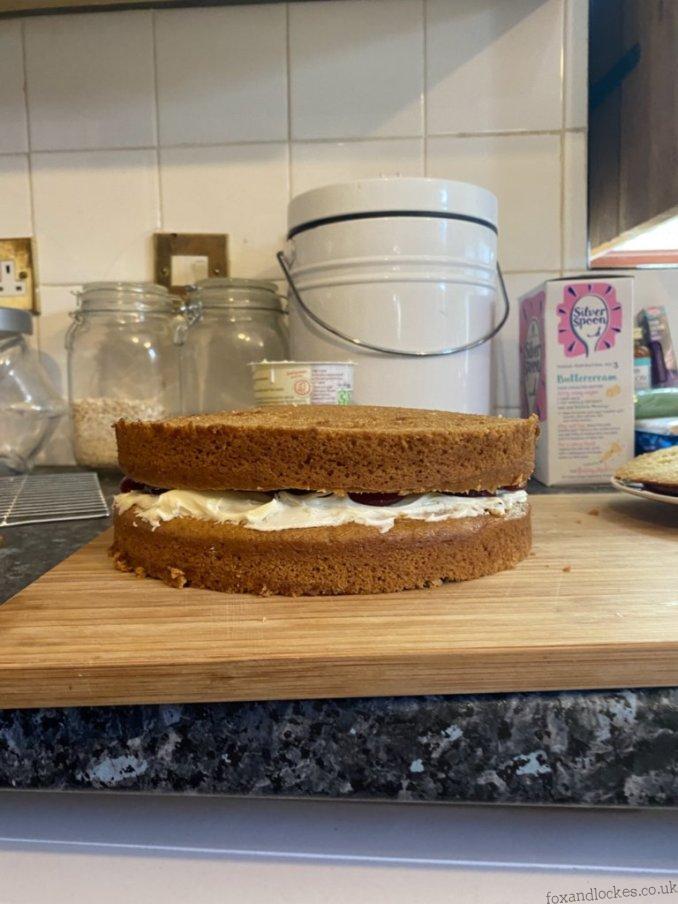
Livvy sent me a recipe for a Vegan Victoria Sponge Recipe from the Tesco website and she also let me borrow her cake tins and cooling rack which was a huge money saver! The fact I didn’t own these things myself gives indication to how much of a baker I am, so this really was a huge task for me…
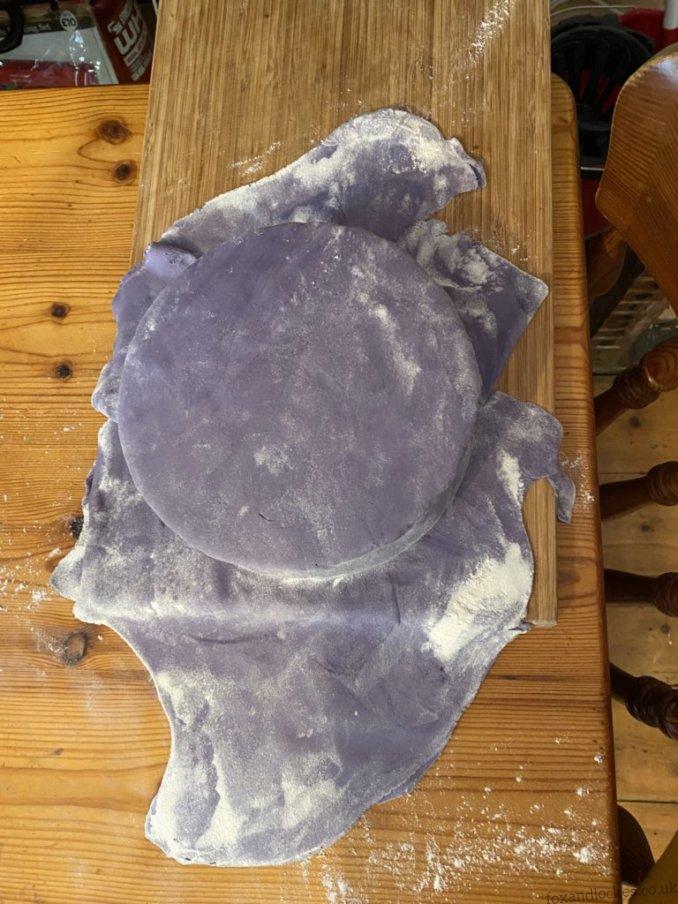
Once the cake was made and assembled (with Will’s help) I got to work decorating. I couldn’t find purple icing in any supermarkets and didn’t want to pay the high price of buying it online and having it delivered so I used white icing and purple food colouring, kneading it into the icing until I was happy with the colour. I covered the cake, popped it in the fridge and got to work on the tower.
As much as I am thrilled with how the cake turned out, I do think I should have spent more time beforehand planning the tower element. I was feeling quite stressed by the time I was decorating it and it ended up being a little rushed, but that’s a good lesson to learn for next time.
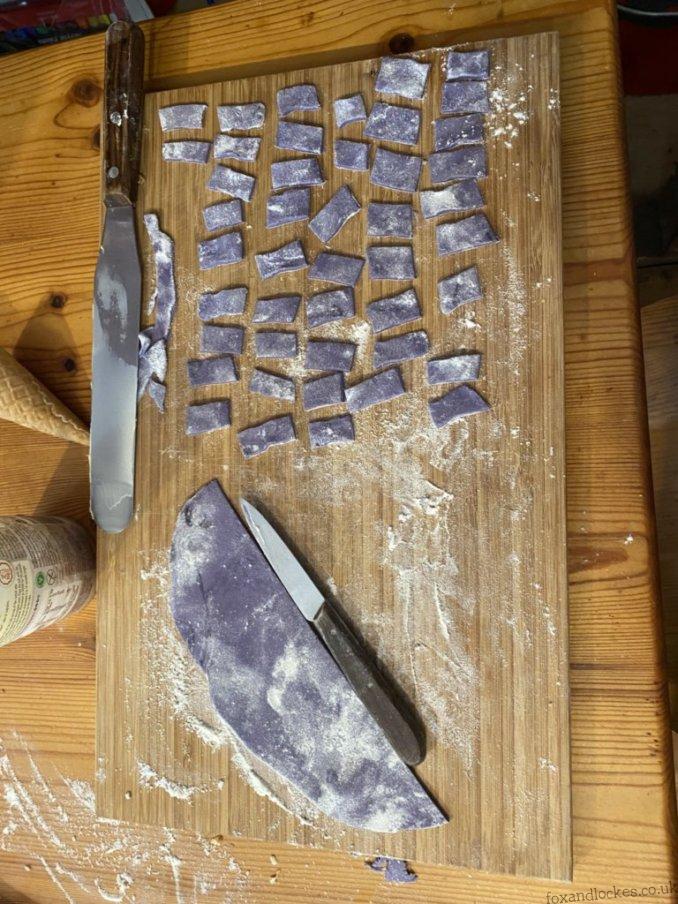
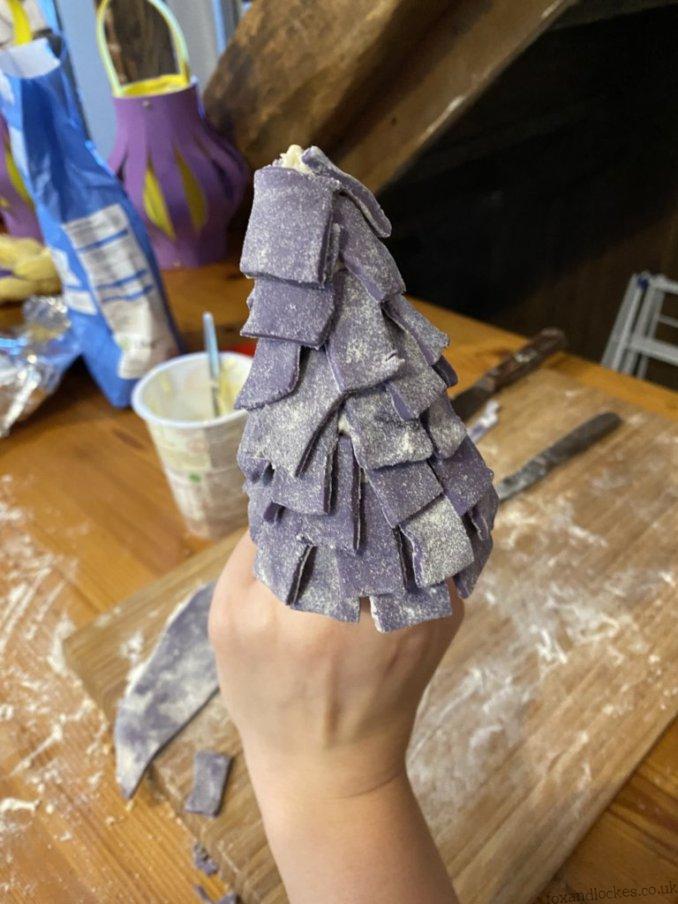
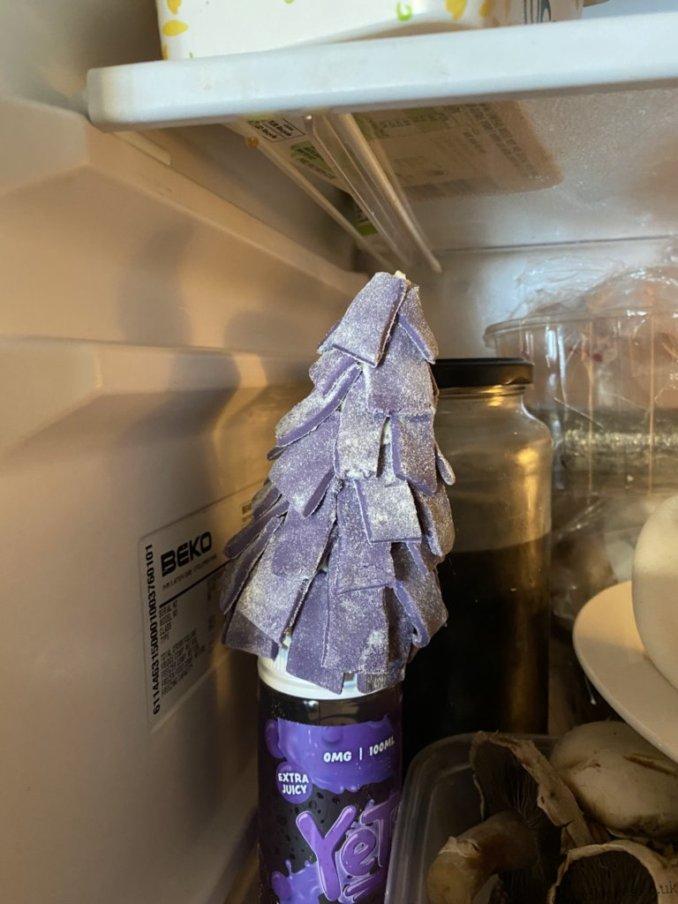
The top of the tower was an ice cream cone, covered in Betty Crocker buttercream (which also went in the middle of the cake, along with strawberry jam) with more purple icing, cut into tiles and stuck on. In hindsight, I would have done smaller tiles, and perhaps mismatch colours, but like I say, I wasn’t entirely prepared! I popped this in the fridge to harden, balancing it on one of Will’s unopened vape juice bottles – it was the best fit for the job, if a slightly odd choice…
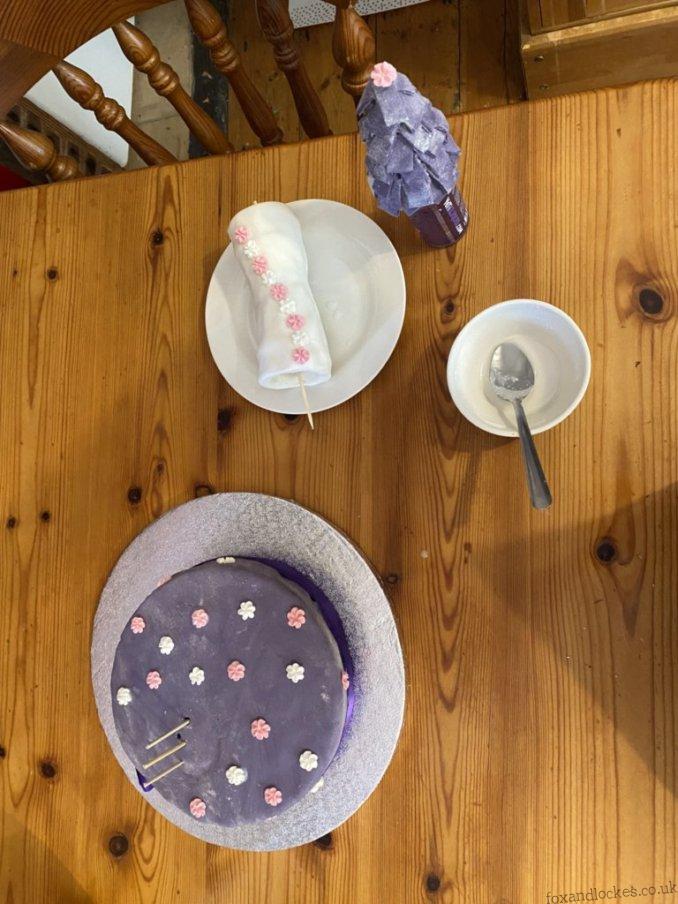
Next came the tower part and this was definitely the trickiest aspect. I put buttercream between two flat bottomed ice cream cones, so that they were bottom to bottom (no photos as I was just trying to get through life at this point!) and then wrapped them in white icing.
My original plan had been to then paint the icing with grey icing to make bricks, but the icing I was using was getting super soft in the heat and the buttercream wasn’t holding the ice cream cones together very well so I quickly abandoned this plan and popped the tower in the fridge to firm up.
After a few hours I added pink and white flowers to the cake and tower, using a mix of icing sugar and water to make them stick. I wrapped the cake in the last of the purple ribbon, to hide a few cracks, and then Will helped me figure out how to get the slightly wonky tower to stay put. It involved a fair few wooden sticks and delicate adjusting, and as we were going to be out for most of the day we deconstructed the cake again and put the separate elements back in the fridge.
Then on Saturday, right before the party started (I sent Will and the girls to ASDA to get pizza whilst I headed home to finish setting up) I got the three components out of the fridge and with the help of Will’s brother, reconstructed the tower. We used yet more buttercream to ensure the top of the tower stayed put, and thankfully it worked!
The cake went down really well, being demolished within 24 hours, and with our neighbours being gobsmacked that it was vegan, which is always a win! All in all, this was a great experience for me and I am hopeful that my cake creations will improve over time – so watch this space.
Rapunzel braid
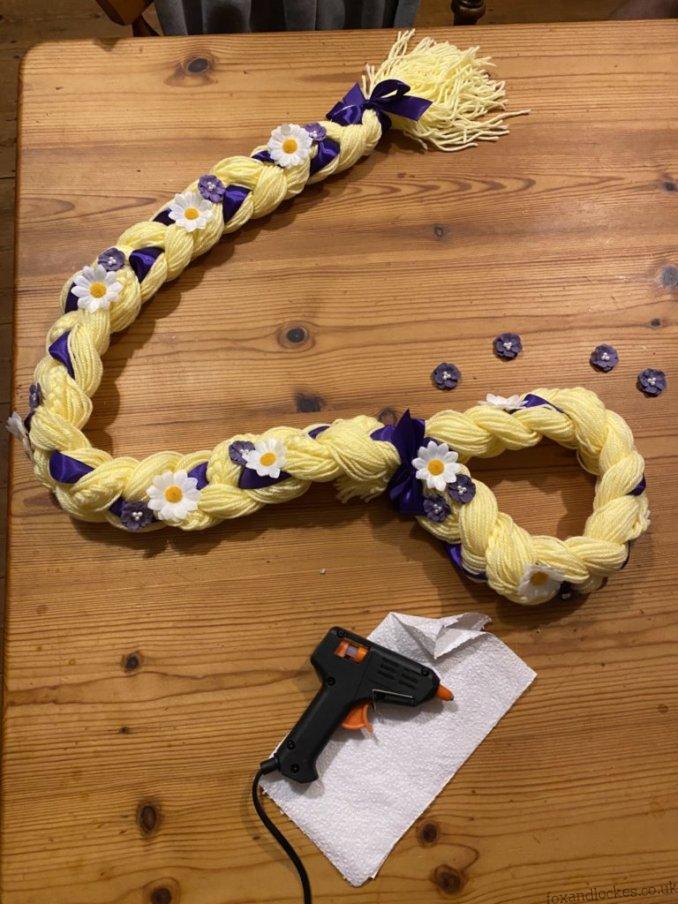
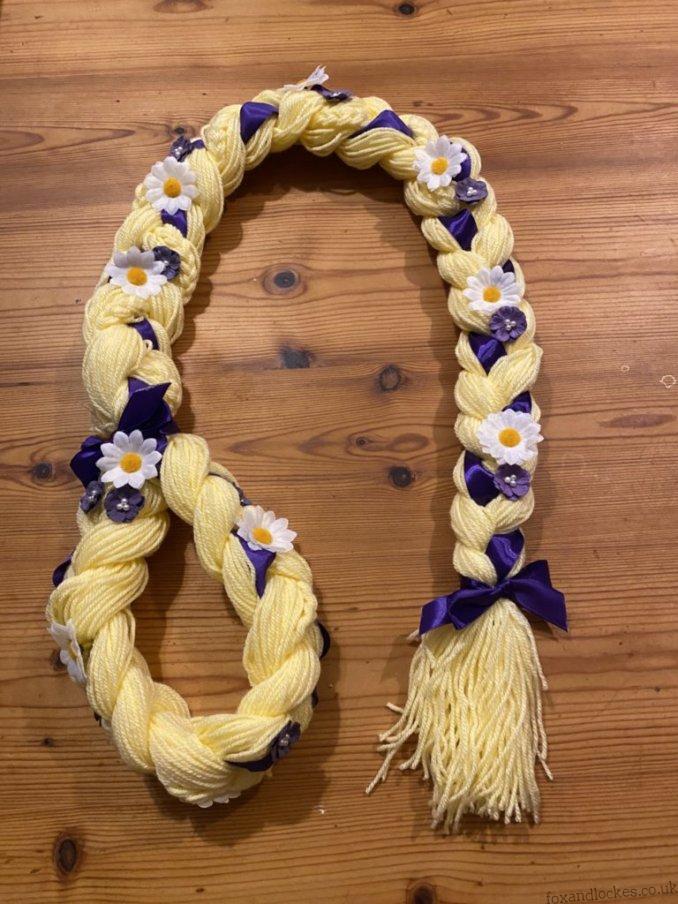
I think this is my favourite of all the things I made, it’s just so fun! The Rapunzel dress we bought A came with a headband but having seen this on Pinterest I decided to make my own and I am so pleased with how it turned out.
Measuring out the lengths of yarn is easier if you have two people but you can definitely do it yourself, it just takes a bit longer. It’s also super fun that you can personalise the braid; I chose to do a thinner braid and then encorporate that into one of the main strands as well as purple ribbon in a separate strand, and then I hot glued some of the same flowers I used in the giant A.
Rapunzel dress
We also bought the birthday girl a new Rapunzel dress as she has outgrown the one I bought her for her fifth birthday and still loves to play dress up. Again, this came from the Vinted app, and there were plenty to choose from. I like that you can filter by price on the app as money was definitely a factor for us and this filter helped easily narrow down our search.
So there you have it, my very homemade Rapunzel party!
Looking online can be overwhelming, as a lot of DIY parties seem to mean hosting it at your own house rather than hiring a venue, and buying things in, as opposed to actually doing it yourself. Now there is nothing wrong with this, if that is what you would like to do, but it made finding ideas and inspiration a little tricky as I didn’t want to inadvertently set myself up to fail.
That said, I am so pleased with what I achieved for this party and I think it is important to remember that kids can tell when you’ve put a huge amount of effort into something and are grateful for that, even if some of it is a little sub-standard.
Signing out after the best day ever,
Summer
