Homemade Vegan Sushi
I spent years wanting to have a go at making sushi but I got put off by all the articles I read talking about how hard it was, how technical, and how you needed special equipment like the rolling mats. Then one day when I was pregnant with my daughter I thought “stuff it”, I’m going to give this a go. Even if it doesn’t work it’ll still hopefully taste nice, it might just look a state!
I’m so glad I gave it a go because that afternoon I found out that although it can be a bit fiddly and you definitely do need a sharp knife, you really don’t need to stress about it. I don’t use a rolling mat or anything and although my sushi isn’t all perfect and tightly rolled, they do stay together and more importantly, they taste delicious!
This recipe makes 6 sushi rolls which I then cut into 8 pieces each (so that’s 48 in total). The ingredients below are to make the same filling in all 6 rolls but you could easily mix it up.
Ingredients
- 250g pudding rice
- 1/4 cup rice vinegar
- 2 tbsp sugar
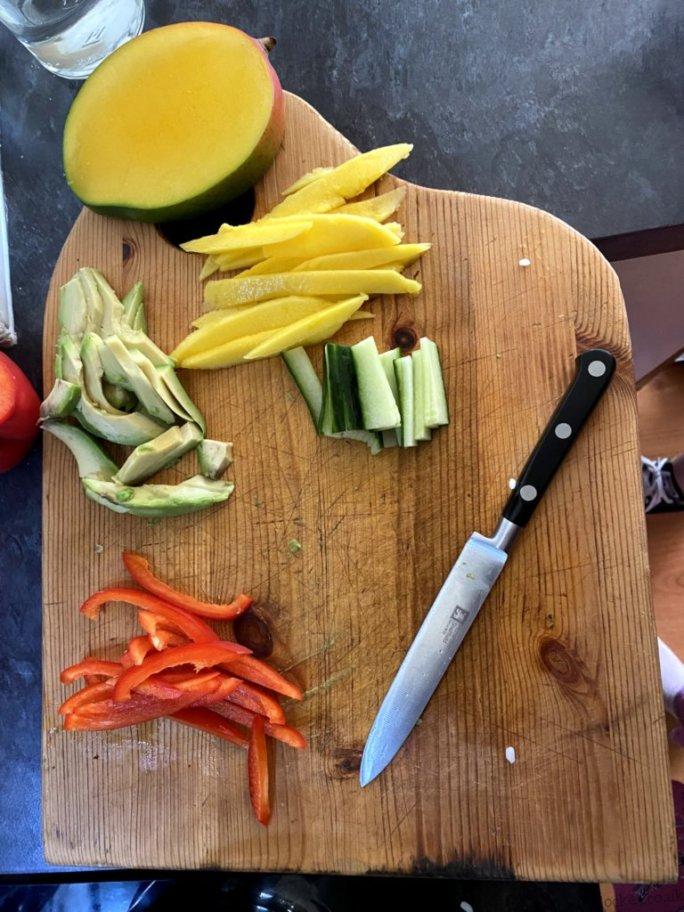
- 1/2 ripe avocado – thinly sliced
- 1/2 bell pepper – thinly sliced
- 1/2 ripe mango – thinly sliced
- 2/3 inch chunk of cucumber – thinkly sliced
- 6 nori sheets (mine are 20cm x 20cm)
Method
- Firstly you need to cook your rice, so pop it into a pan with 600ml of water, bring to a boil and cook over a medium heat for 10-12 minutes.
- Mix your rice vinegar and sugar together in a small bowl before pouring over the hot rice, once cooked, and mix it all together. It has to be added when the rice is still hot as this is what makes the rice extra sticky.
- Chop up your fillings and place to one side ready to use.
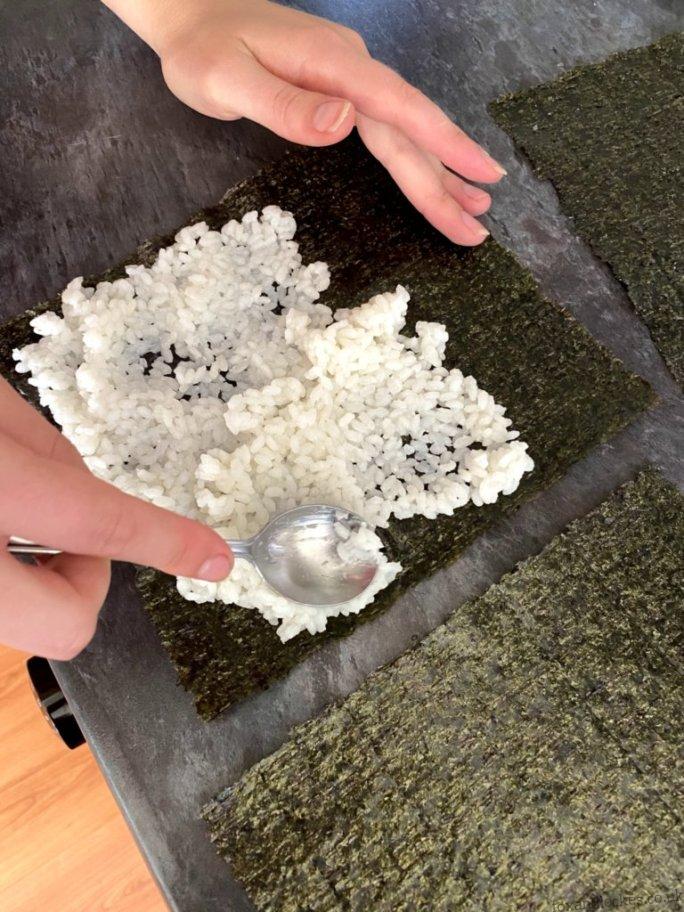
- I like to lay all of my nori sheets out at once (shiney side down – you want the rougher side facing up as it will grip the rice SO much better!) and when my rice has cooled I use a spoon and my fingers to cover the sheet, leaving a one inch gap at the top for sealing the roll.
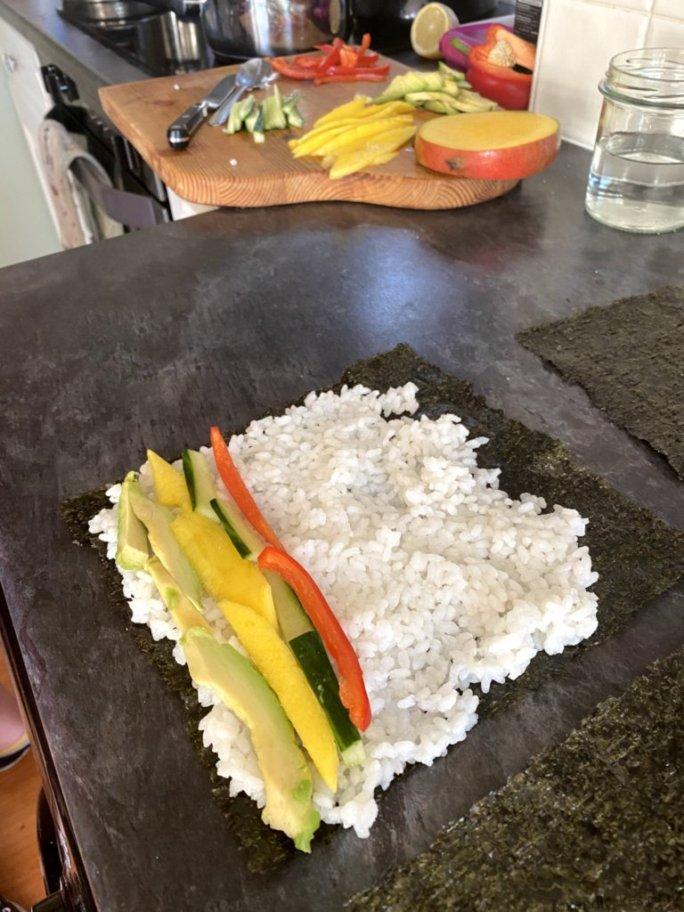
- Next add your fillings along the bottom of the sheet, opposite to the inch at the top which is riceless.
- Pick up the bottom end and carefully but firmly roll up the sheets to capture your yummy filling inside. When you get to the top end dip one hand in a bit of water (I like to keep a small cup off to one side next to my fillings) dampen the boarder and then roll your sushi roll on top of it to seal it all up. Pop your roll onto a plate.
- Make sure you dry your hands before moving on to roll up the next one.
- I like to leave my rolls in the fridge on a plate for an hour or so if possible as I find this makes them easier to cut.
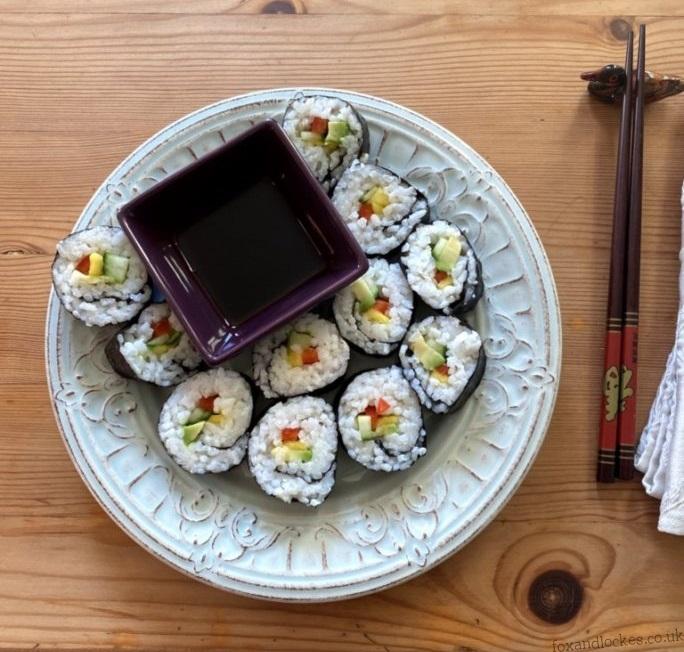
- When ready to cut them make sure you have a nice sharp knife. I cut the roll in half, then cut the two halves in half and then cut the for quarters in half until I finally have eight even(ish) pieces.
- Pop your sushi onto a plate and serve with soy sauce.
I really hope these instructions make sense and show you how simple it can be to make your own sushi. Even on nights where I’ve been tired or got the nori sheets the wrong way around so the roles haven’t stuck together that well it all still tastes delicious.
If you have a go at making these please do tag us on Instagram @foxandlockes so we can see how you get on!
Livvy and Summer


