Frugal Homemade Halloween Decorations
I love Halloween. I remember the first time we really did it as children. I think I was about eight and a few children in the village all dressed up. It wasn’t the huge event it is now, most people didn’t really do anything and trick or treating hadn’t made its way over to our little West Country village. We got plastic capes from the supermarket in the ‘big’ town, our Dad made us hats out of green paper and Mama put red lipstick on us.
That was it, all three of us were witches and we played all night.
Ever since then I have always prefered a homemade Halloween – don’t get me wrong, you can get some amazing things online, and some of the parties you can go to are incredible now, but for me, a hand crafted and decorated home is what brings back all the memories and gives me all the feels. These are some of the crafts I have done for our home this year and don’t worry, I’ll do a future post about what I do craft-wise with the children.
Paper bats
This is the most simple and effective craft I think I have ever done. I saw someone on YouTube do it with plastic shop-bought bats – we obviously do our best to avoid plastic where ever we can so I recreated it using black paper instead.
I used a simple bat template in 4 different sizes, drew around it onto an old cardboard box, and then used that as the template for the black paper. I did it all in an evening while the little ones were asleep, so it’s a nice quick craft that I think looks very effective.
Centre Piece
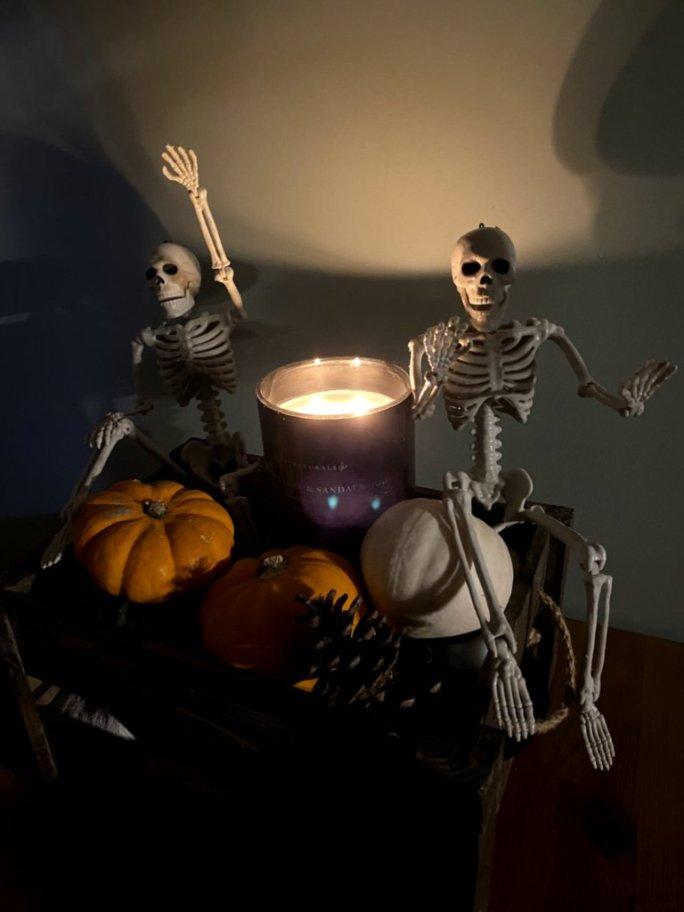
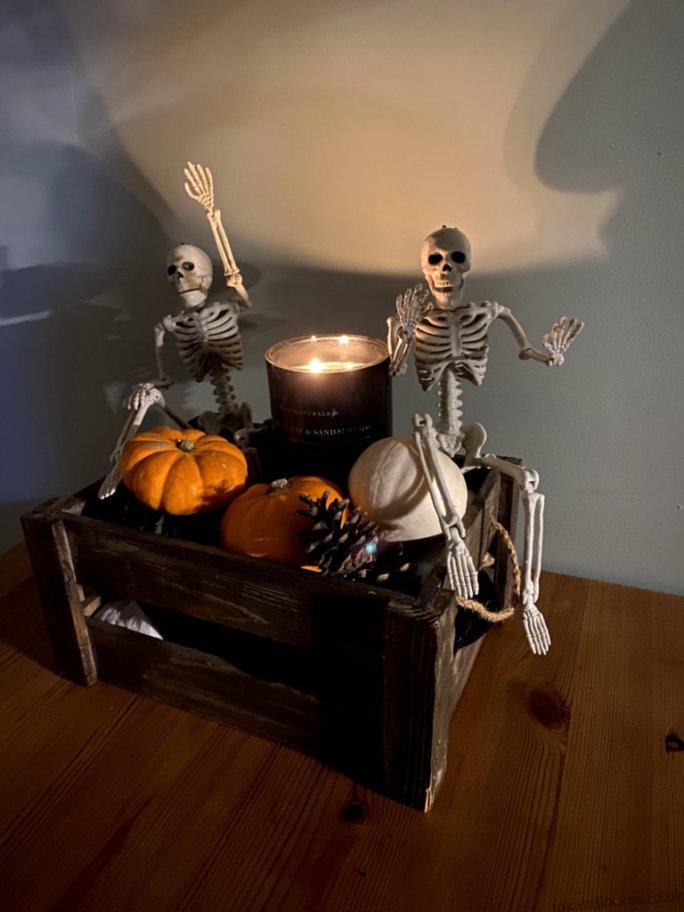
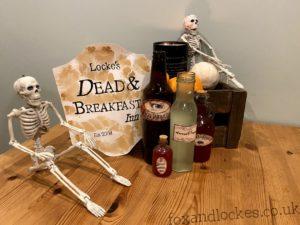
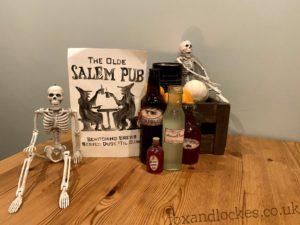
For this, I simply used little pumpkins from the supermarket and a candle I already owned as well as two plastic skeletons I got a few Halloweens ago that I totally forgot were up in the attic.
I got my trusty wooden box out (if you look at my Easter post you will see it there, and it will be coming back at Christmas) and I started adding what I had. I’m pleased I found my old skeletons as I feel like they really add a fun element to the centrepiece and the children love them (they have been named Skelly and Frank if you are interested).
I had a lot of fun playing around with this and after far too much time faffing my advice would be that whatever you have to go into your centrepiece lift them up to have them on top of the basket or box that you are using to hold them. I did this by adding boxes from the recycling (a box of dishwasher tablets specfically) and then covered them with a black top. I then added my items so they sat nicely in the box and could be viewed without having to look down into the box.
Easy potions bottles
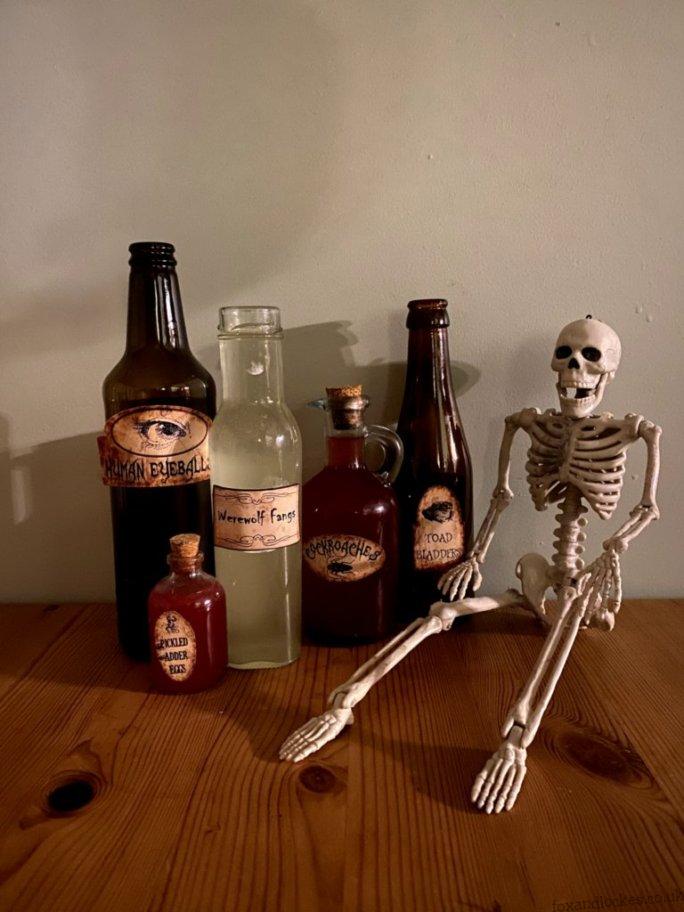
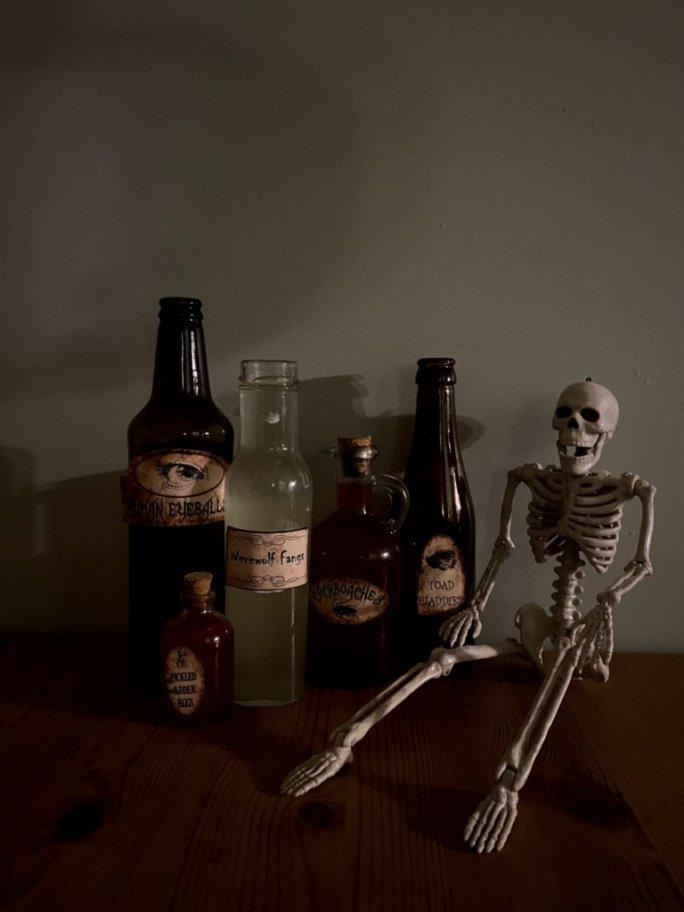
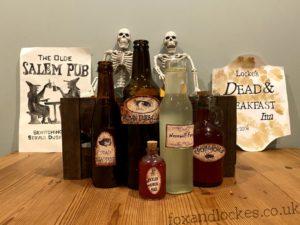
I first did this for a Halloween party many years ago and they are so easy to do they reappear every year. I start saving any coloured bottles I can around the beginning of October along with any clear glass ones that I like the shape of. I then copy out some label ideas (again from Pinterest, I like the Harry Potter themed ones as you can see) cut them out and stick them on the bottles (not very well, so I can remove them to recycle the bottles afterwards).
I fill the bottles up with water and then for the clear glass ones I add a few drops of food colouring to the liquid and give them a shake. I always have food colouring leftover from birthday cake and playdough making and I think it adds an extra level of spookiness to the bottles. I then just pop them around the house, on every surface I can find!
Signs
I’m going to start this by saying that I didn’t make either of these this year; I’ve made them over the years and these are the ones that have survived.
To make them I literally type ‘Halloween into Pinterest and see what comes up. There are lots of ideas out there and then I simply copy the pictures or words I like and then paint them. As you can see I personally like plain black for Halloween. That’s the beauty of making your own, you can make sure it’s exactly your style.
Spooky Table Cloth
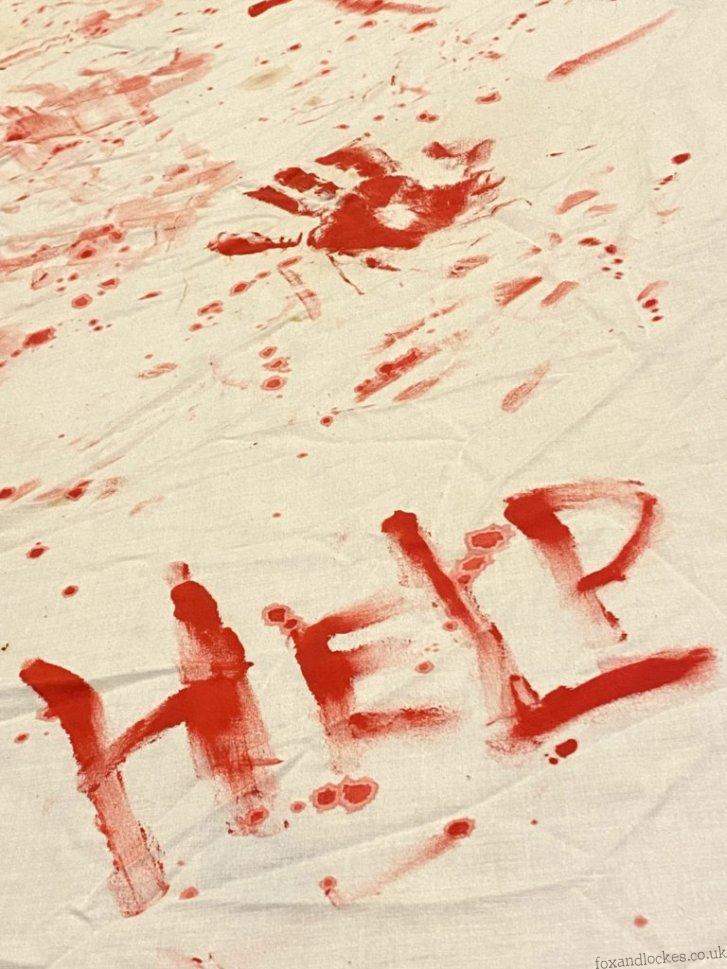
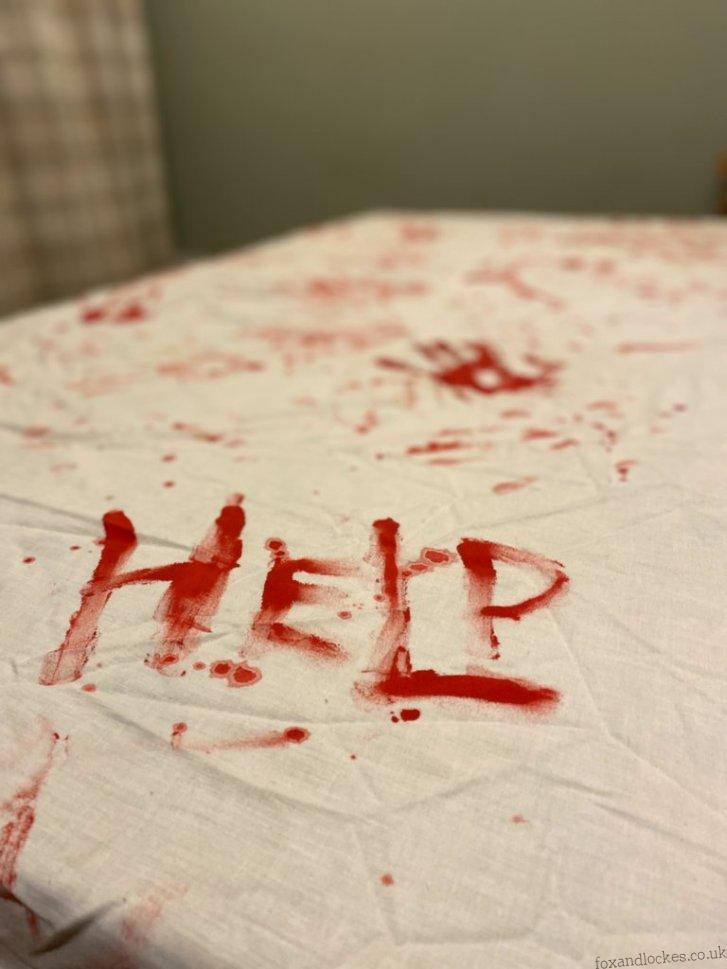
This was probably a little bit more fun than it should have been. After a tough day with the children, we put them to bed and I dug out an old, slightly stained, bedsheet that I had been trying to work out how to recycle. Then Paul and I put loads of red acrylic paint onto plates and using our hands we went to town on the bedsheet; smearing paint everywhere and finger painting creepy words onto it.
If you have an old bedsheet you don’t use anymore, an excess of paint and need a fun ten minutes then I really recommend this one!
BOO Door Sign
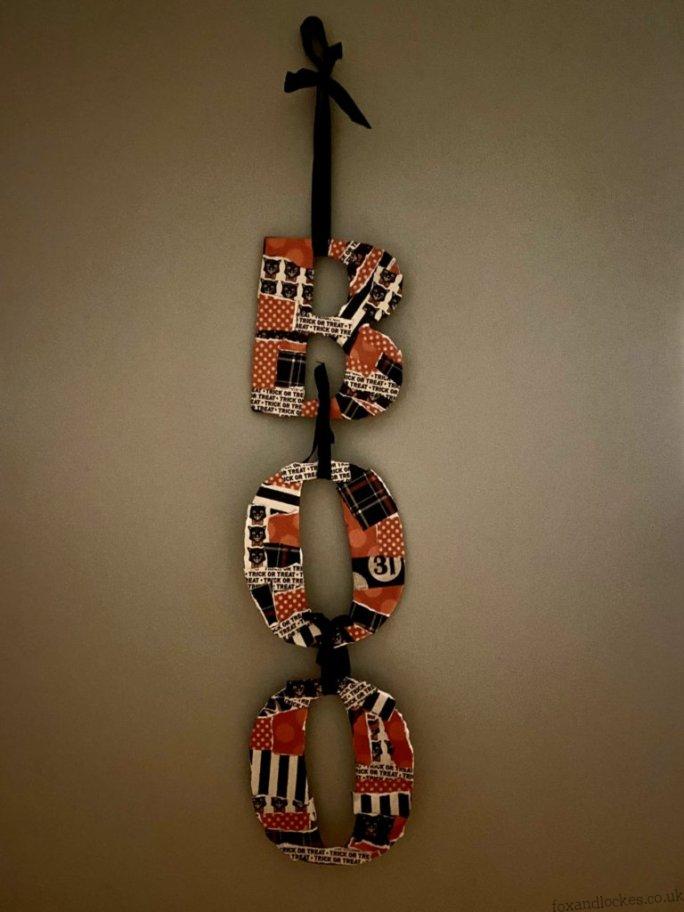
This could be a door sign or a wall hanging, and like all the other crafts, it’s super easy and cheap to make. I typed the word I wanted to make into a word document and made it the size and font I wanted before printing it out and stickomg it on an old box. I drew around the letters, cut them out and they were ready for the Halloween paper to be stuck to them.
The paper is leftover, I got it from The Works years ago and had never gotten around to using any of it. I tore it up into chunks and used PVA glue to stick it to the letters. Once they were covered I added another layer of PVA glue over the top to help hold everything in place. I then attached the letters to each other using some old ribbon that I found and also added some of the ribbon to the top in order to hang it up.
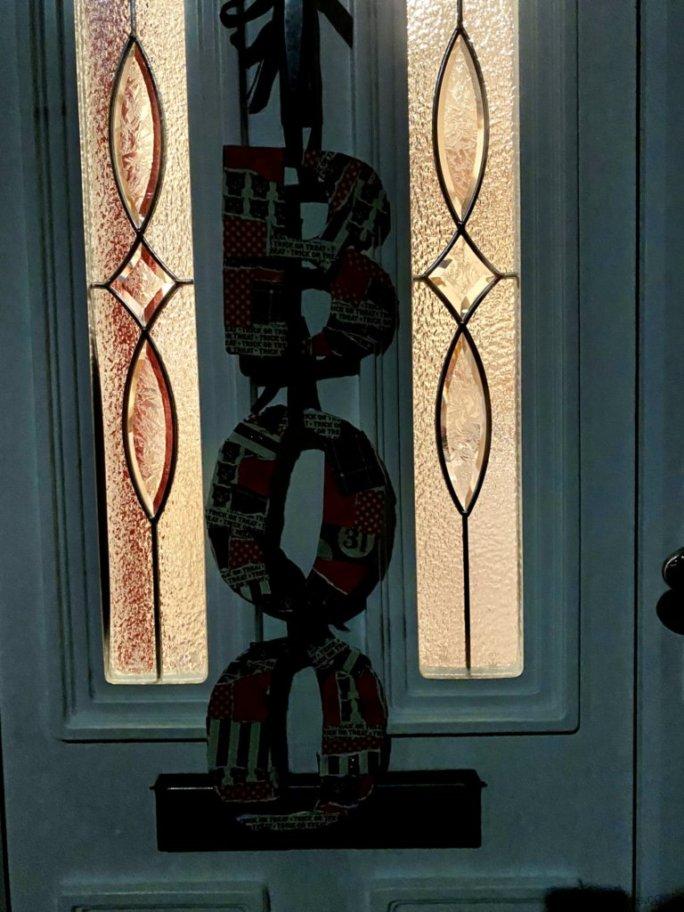
I really enjoyed making this cute little sign and it adds a nice touch to the front door for Halloween. It’s also a good sign to the local trick or treaters that we have sweets, which I love.
Pumpkins!
If you don’t do anything else, just adding pumpkins all around your home will add a wonderful autumnal and Halloweeny feel to your home. And the best thing (in my opinion) is that you can eat them too – ultimate zero waste decoration!
Are you a homemade Halloween lover or do you prefer a bit of shop-bought bling? What do you like to make? I always love more ideas.
Livvy and Summer
