Upcycling a bedside cabinet for a child’s bedroom
Anyone who knows me will know that DIY isn’t exactly my forte, and creative juices don’t freely flow through me, so why exactly would someone like me attempt to upcycle? I may or may not have asked myself that exact question a few times throughout this little journey but do you know what, I really enjoyed myself, I learned something new, I spent quality time with my partner and it wasn’t nearly as challenging as I had thought it would be.
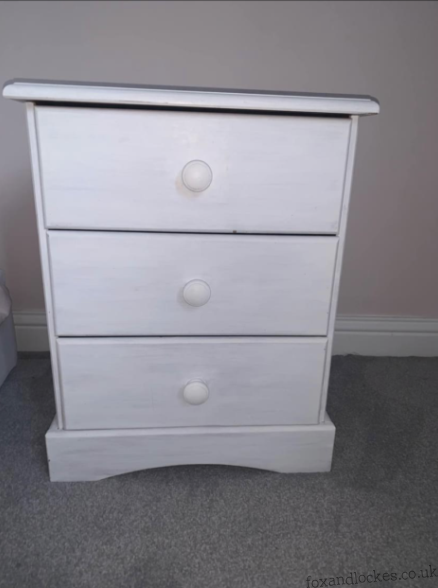
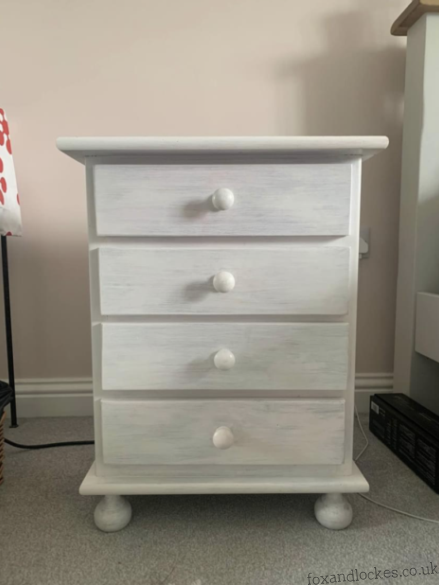
The first step was to locate bedside cabinets, as when Will moved in we only had one between us and with three bedrooms to furnish that wasn’t exactly cutting the mustard. I found these two on Facebook Marketplace for £10; a lovely lady was moving home and no longer had use for them so I hopped in the car, headed to Ashford and with great difficulty put them in my car.
No, I am not a complete weakling but they’re bigger than I had anticipated and we have a child’s booster seat in the back and I tied the trip in with collecting Will from work and so had no space in the front… Long story short, it was a palaver but I got there in the end.
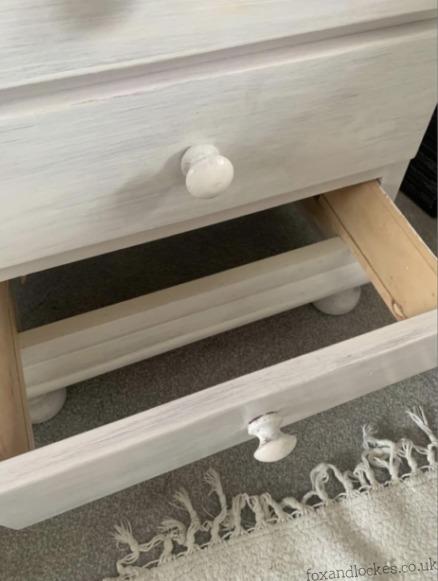
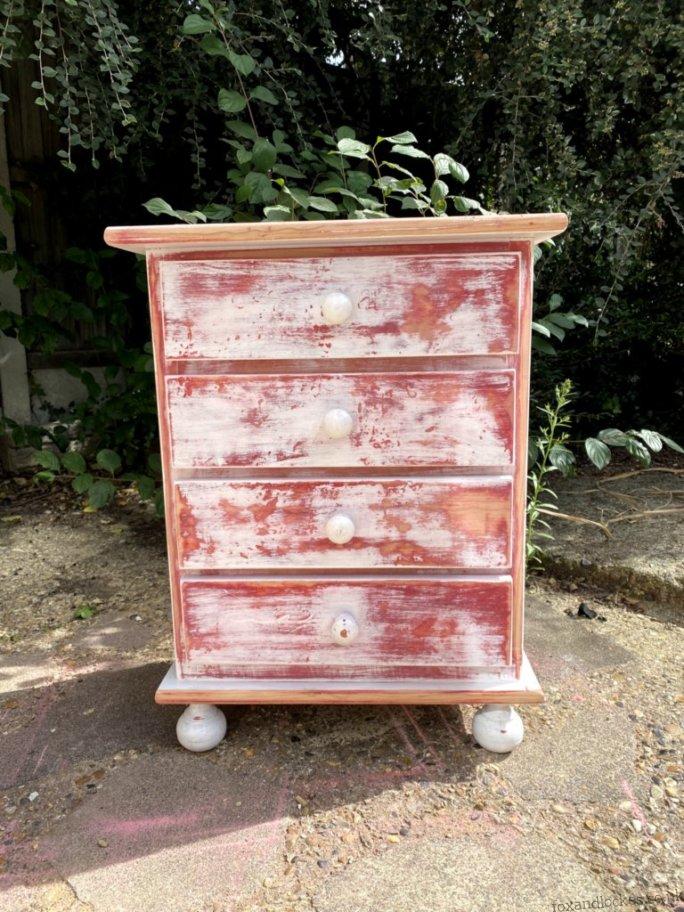
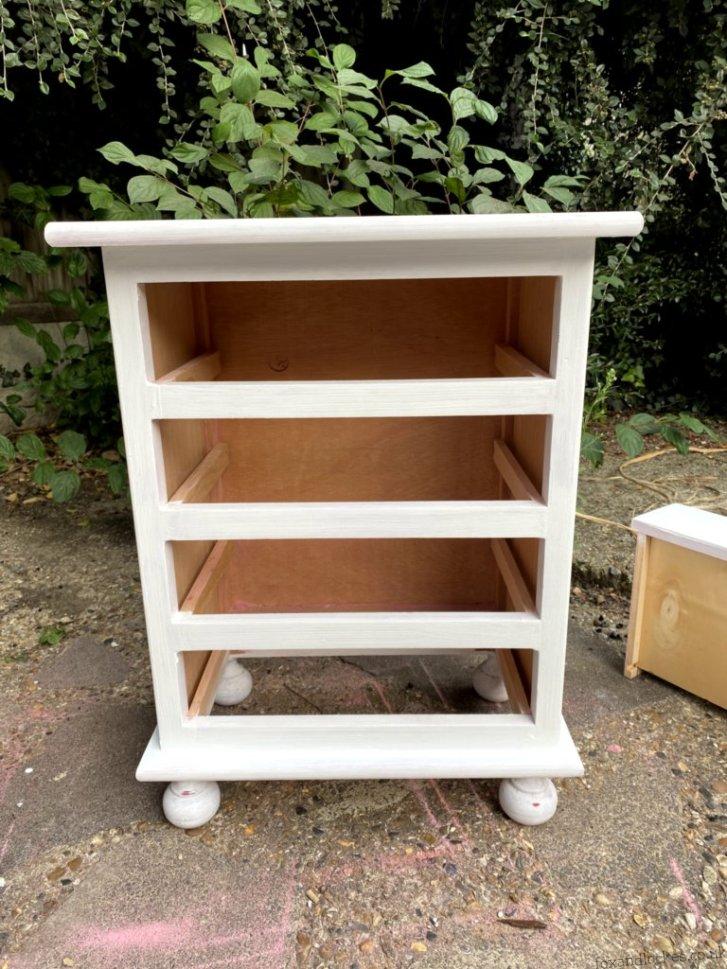
As you can see in the photos, one of the cabinets has three drawers and has four, with one of them missing its bottom. I figured this wasn’t an issue as we can find a way to replace it and in the meantime, it’s going into our smallest bedroom where Will’s youngest stays once a fortnight, so having all four drawers in use isn’t exactly vital.
Anyone else feeling like Livvy’s posts are a touch more succinct? Anyway…
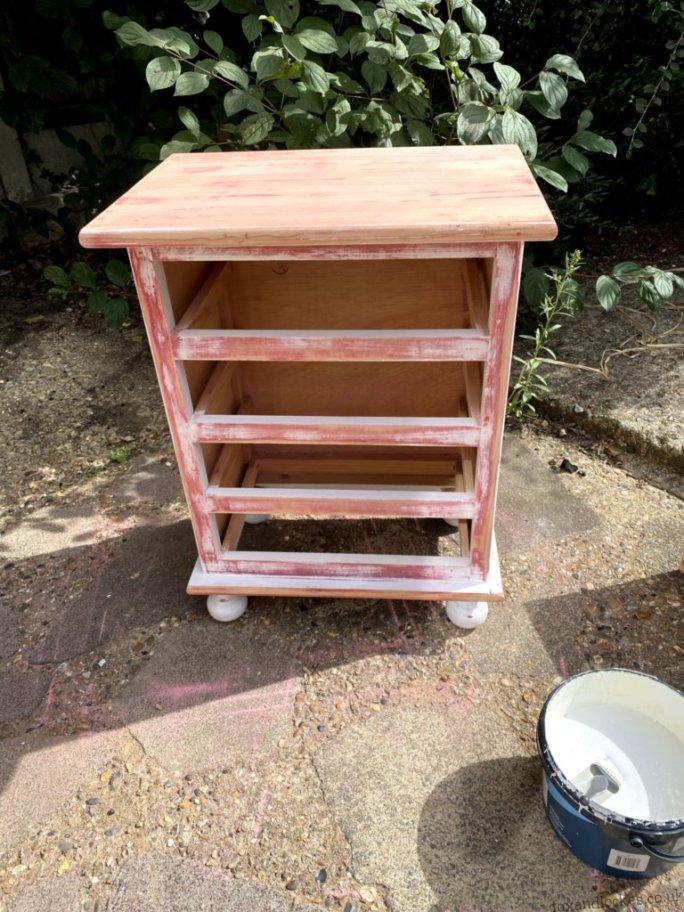
I started with the four-drawer cabinet as our plan for the three-drawer cabinet was dependent on what the wood looked like underneath (whether we would paint it or restore its original appearance). I borrowed an electric sander from Paul and got to work; it was easier than I had anticipated but also took longer than I thought it would if that makes sense? Hindsight has me thinking this was a user error of being too gentle and not applying enough force.
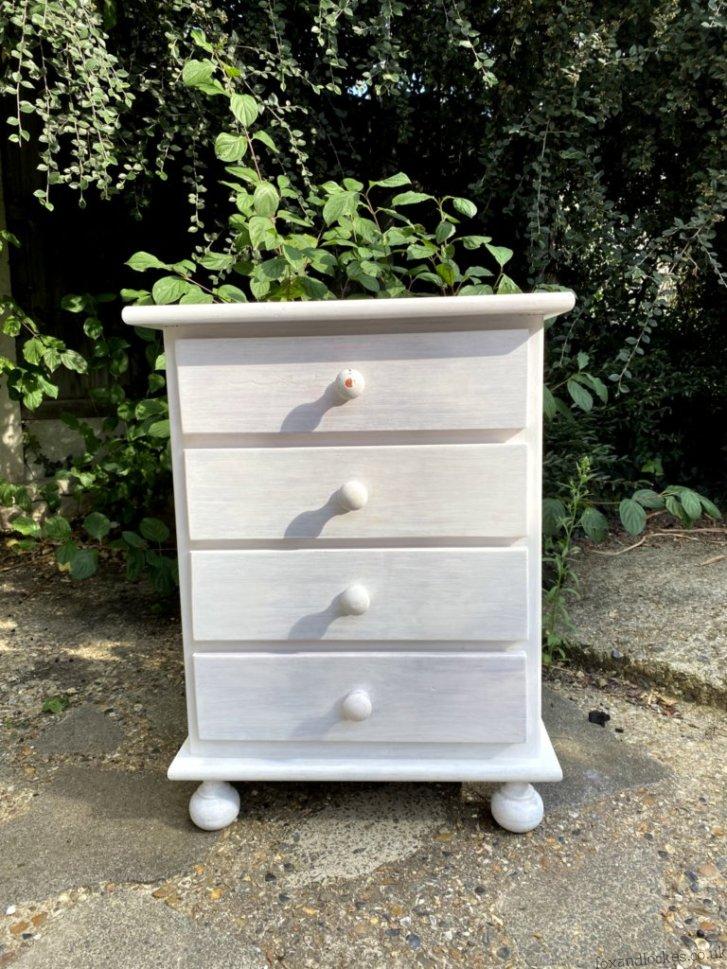
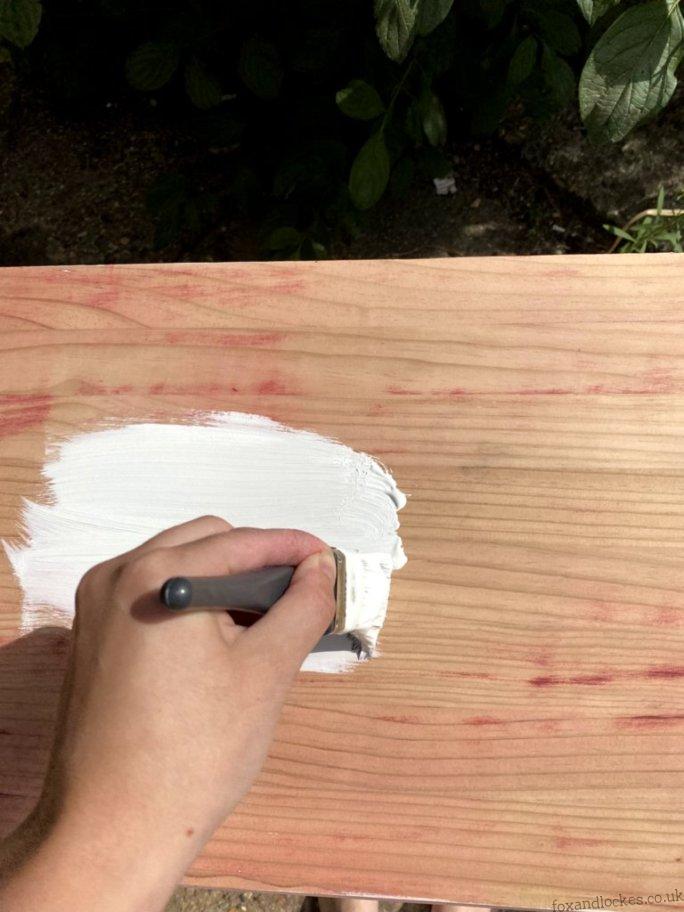
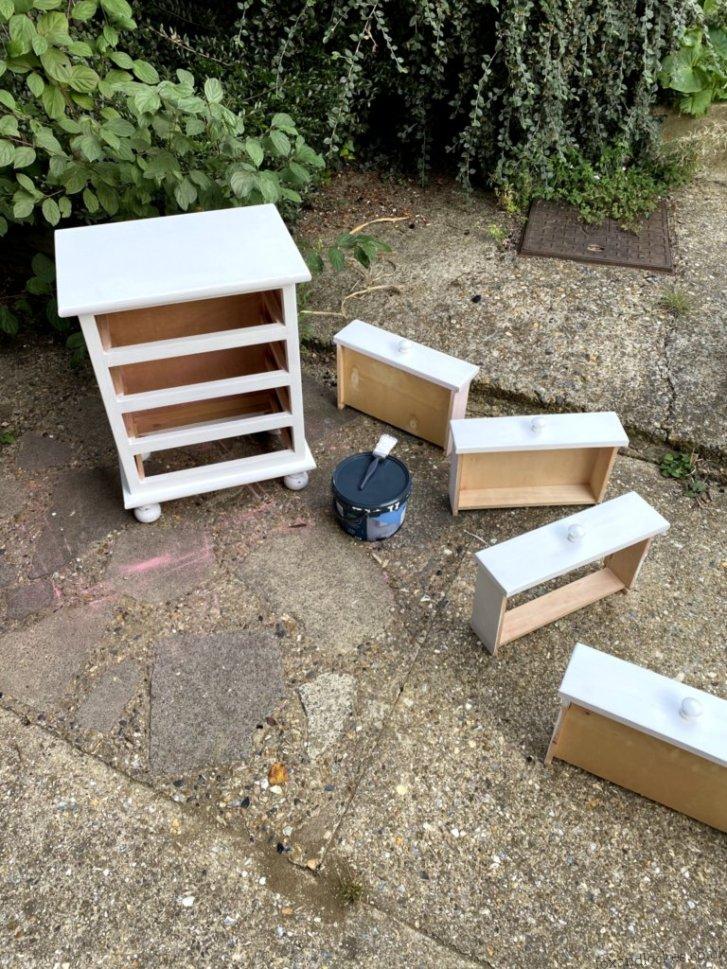
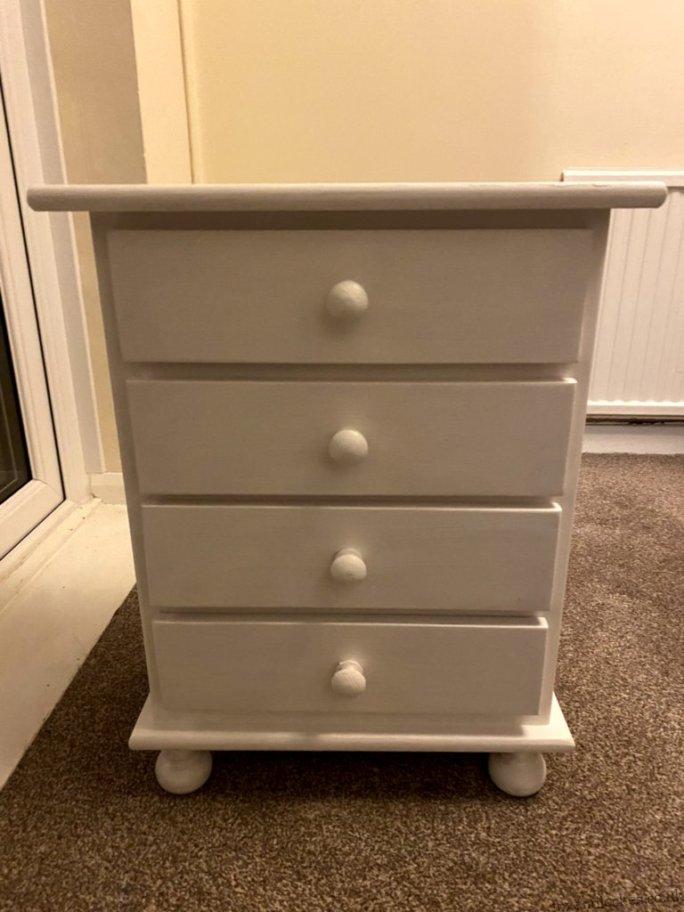
Once I had roughly sanded all over I painted the whole thing white with a leftover tub of paint from when I spruced my kitchen cabinets – I cannot stand magnolia so something had to be done to salvage them. I’m pretty sure it’s a “kitchen and bathroom” paint rather than a specific wood paint but as I already owned this tub and was attempting a frugal DIY/upcycling project I was not going to purchase more paint. It only needed two coats and ended up being the quickest of all the stages.
Next came the fun part: decorating!
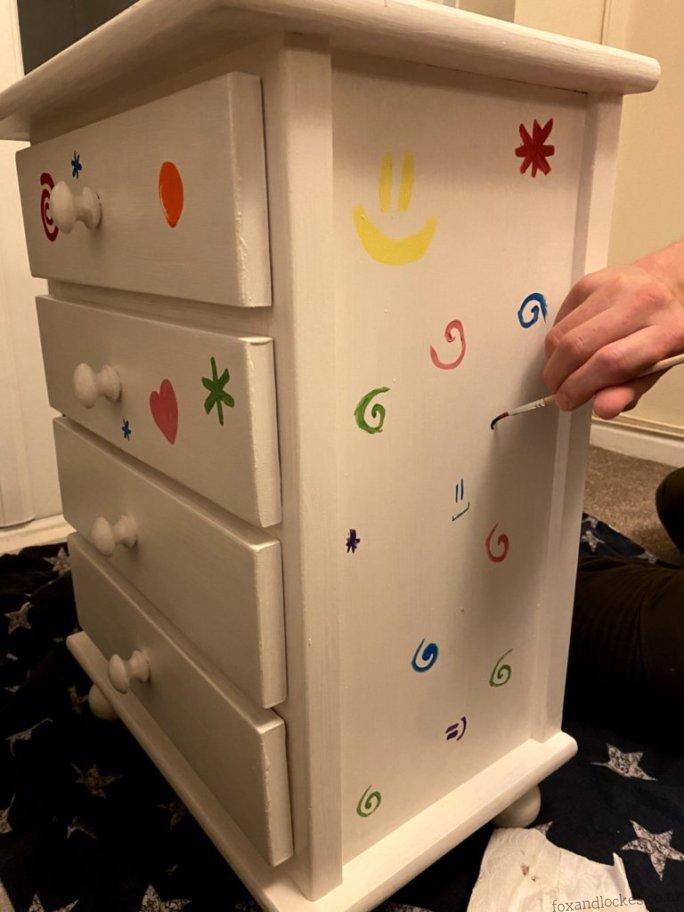
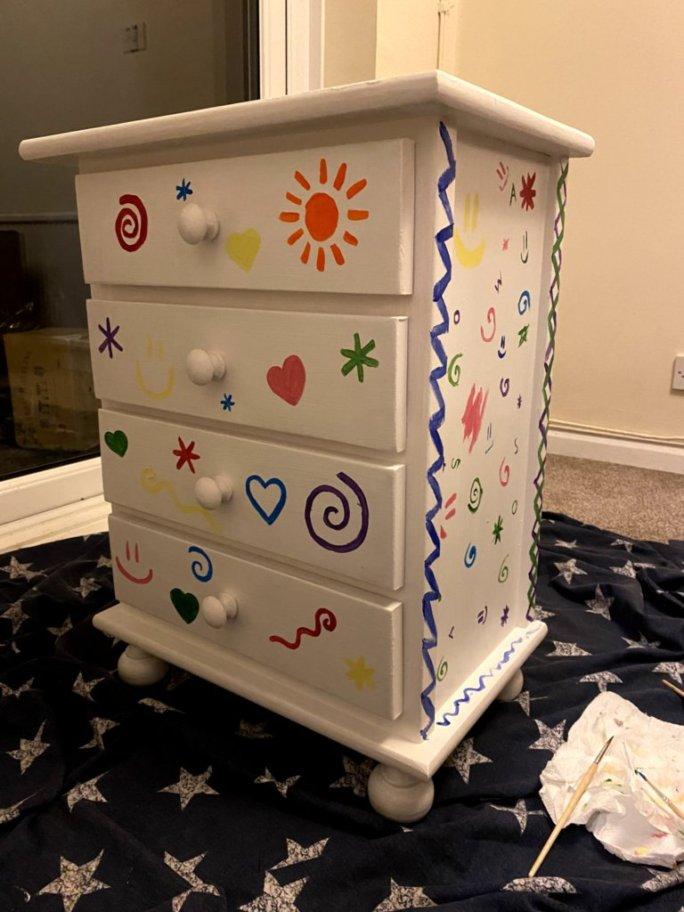
Now, anyone who knows me will likely have heard me say that I have next to no artistic ability, and I really am not kidding when I say that. However, as this bedside table is going in a 5-year-old’s bedroom neither Will nor I were fussed by our limited capabilities and we spent a wonderful evening chatting and painting. We left the top and the other side of the cabinet bare so that should we find ourselves without anything to do on a rainy day we can set up a painting station and the girls can contribute to the bedside cabinet as well.
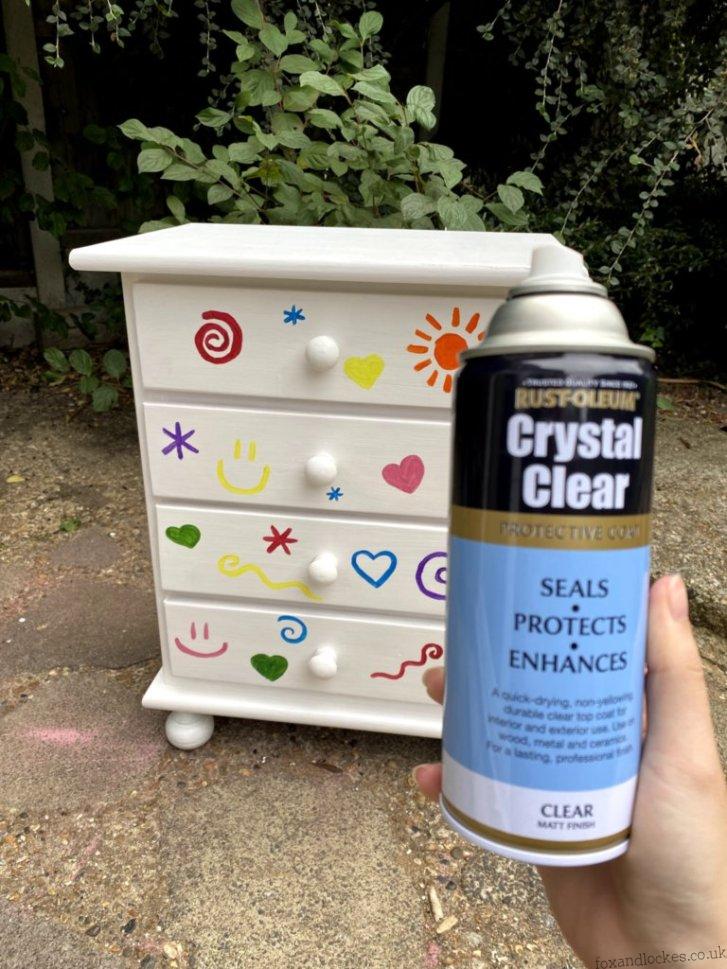
The paints we used were from an acrylic set I already own so at this point our project still hadn’t cost us anything. The final stage is the only one that cost us money, and that was applying a top coat to prevent marking/staining.
I picked this can up in B&Q for about £12 and it should last us for a few more projects, as a little seems to go a long way. I simply followed the instructions on the can, spraying all over from 30cm away before leaving it to dry for 5 minutes and repeating the process.
This particular can says ‘touch dry in 20 minutes’ and ‘bone dry within 24 hours’, so I brought it inside after half an hour and left it downstairs on the painting rag overnight.
I’m really pleased with how the project turned out, it was cost-effective, reasonably quick to complete and very enjoyable. We have yet to finish the three-drawer cabinet as the weather has turned and it has been rather drizzly, so we haven’t been able to complete the sanding, but I will be sure to post the finished results of that one over on our Instagram page – make sure you’re following @foxandlockes to keep up to date!
Have you ever upcycled anything? Do you have any tips? This is one of my first ever upcycling projects and so I would love to hear from individuals who know more about the subject than I do. Please leave us a comment with any experiences and advice below.
Summer and Livvy


