Homemade Jam (Raspberry, Strawberry and Cherry) & Vegan Lemon Curd Recipes
When I first decided I wanted to start making more of our food from scratch jam was the first thing I made. Paul and I were in our final year at university and when I proudly poured the hot jam into jars I felt so damn proud. The next day, when we had that raspberry jam on our porridge the sense of pride I felt was ridiculously high. It really is one of the easiest and cheapest ways to start becoming more self-sufficient and taking a step closer to knowing what’s in your food.
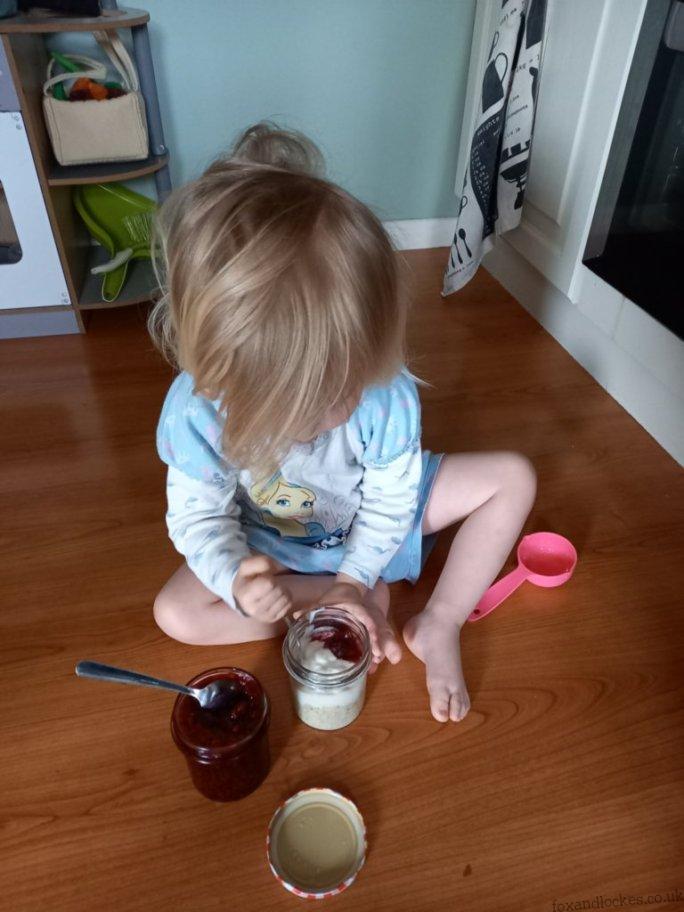
The thing I love most about making jam is that you are in control of the fruit to sugar ratio. Lots of the cheaper jams in supermarkets are 70% sugar, which I personally think is too much. If I am making raspberry jam to go on our porridge for the following week I only add 33% sugar, in a 2:1 ratio. This ratio isn’t any good if you want it to last a long time and is also too runny to be used as a cake filler, but is perfect if you want to make sure toddlers aren’t getting too much sugar in the mornings.
For longer-lasting jams or jam to be used in the middle of cakes or on scones for example I will do 50% sugar, in a 1:1 ratio. Once you are confident you can play around and do what works for you and your family – it is worth noting that I only do this with raspberry jam as it is very forgiving; other fruit jams can get a bit more upset about their sugar content. I also use frozen fruit as it works out a lot cheaper and doesn’t change the way you make any of them.
To sterilise my jars I pop them (including the lid) into the dishwasher and once cleaned I rise them out with boiling kettle water. I only use wax paper disks on the top of the jam if I am preserving it for long periods of time (like the cherry jam I make from the cherries on our tree, which lasts us until about February the following year).
Raspberry jam
- 350g frozen raspberries
- 175g sugar for porridge OR 350g sugar for a firmer set jam
Instructions
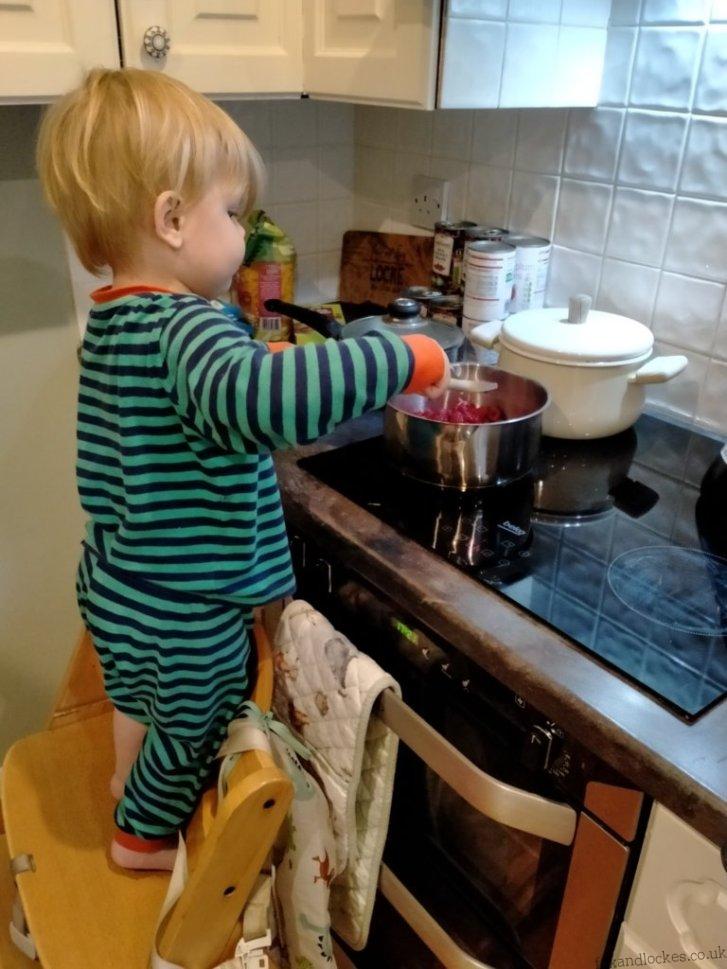
- Heat the raspberries over a medium heat until broken down and bubbling.
- Pour in the sugar, stir to combine and leave cooking until it has all been absorbed.
- Leave it bubbling for 5-6 minutes for a softer set jam or 7-8 minutes if you want your jam to be a bit firmer (as mentioned above, the sugar content also affects firmness).
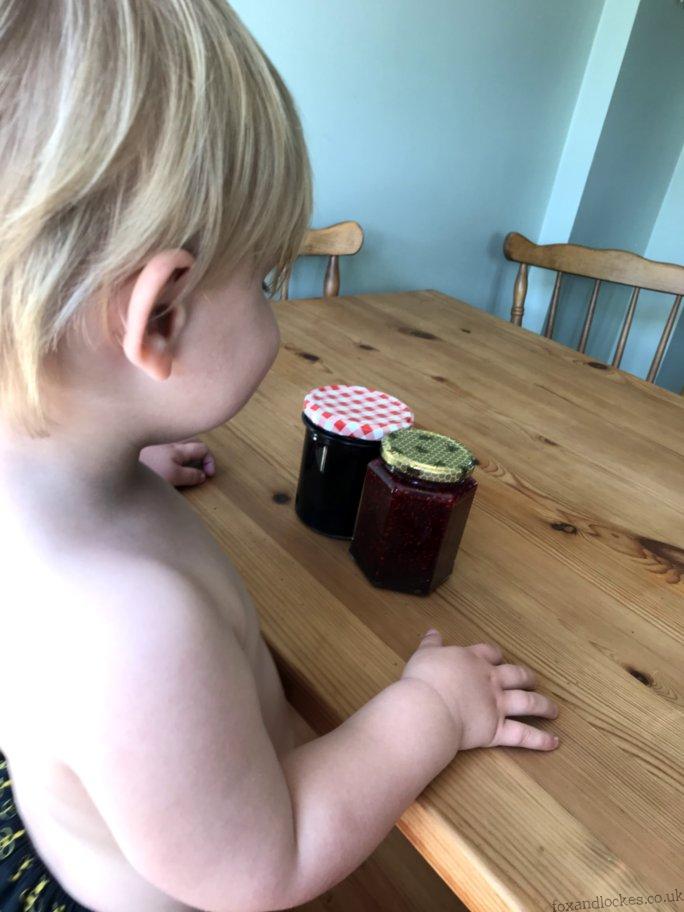
- Pour into your sterilised jar (carefully, hot jam really burns) and screw the top on immediately.
Strawberry Jam
- 350g strawberries
- 350g sugar
- Juice of 1/2 a lemon
Instructions
- Heat the strawberries over a medium heat until broken down and bubbling. Give them a bit of a mash if you have any larger pieces.
- Pour in the sugar, stir to combine and leave cooking until it has all been absorbed.
- Add the lemon juice and give it another stir.
- Leave it bubbling for 5-6 minutes for a softer set jam or 7-8 minutes if you want your jam to be a bit firmer.
- Pour into your sterilised jar and screw the top on immediately.
Cherry jam
- 350g cherries
- 350g sugar
- Juice of 1/2 a lemon
Instructions
- Heat the cherries over a medium heat until broken down and bubbling.
- Pour in the sugar, stir to combine and leave cooking until it has all absorbed.
- Add the lemon juice and give it another stir.
- Leave it bubbling for 5-6 minutes for a softer set jam or 7-8 minutes if you want your jam to be a bit firmer.
- Pour into your sterilised jar and screw the top on immediately.
I was super nervous about making vegan lemon curd. I made it a lot before we became vegan and it’s my absolute favourite thing to have on toast or to decorate little butterfly cakes with. However, this recipe, with a bit of tweaking, absolutely blew me away and to say that Paul and Summer were impressed was an understatement. I really hope you give this one ago; it’s quick, simple and delicious – what more could you want?!
Lemon Curd
- 2 lemons – juice and zest
- 100g of sugar
- 1/2 cup of oat milk
- 2 tbsp cornstarch
- 1/8 tsp turmeric
Instructions
- In a small pan mix the sugar, cornstarch and turmeric together.
- Add your lemon zest and juice and mix to form a thick paste.
- Slowly add in your milk, mixing well to avoid any lumps.
- Place the pan on a medium heat for 3-5 minutes until the mixture has thickened.
- Add to your jar and store in the fridge. The mixture will continue to thicken as it cools.
I strongly recommend spreading this curd liberally over your toast on a Sunday morning and enjoying it with a hot cup of tea (and if you have them, happy, sticky, lemon curd covered children!).
These recipes all bring me such joy to make and if you give them ago I hope they bring joy to you too.
Have a wonderful weekend,
Livvy and Summer


