Chocolate Vegan Mermaid Birthday Cake
When my little girl asked for a mermaid birthday cake my mind went crazy with possibilities and I created a whole Pinterest board of colours and ideas. Then she said she wanted her birthday cake to be made from her favourite fudgy chocolate cake; this shouldn’t have come as a surprise as this is everyone’s favourite cake in my house but the issue is, it’s so fudgy you cannot build with it – no layers or 3D structures can be made with this soft cake.
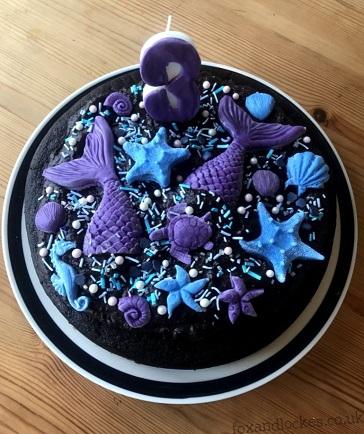
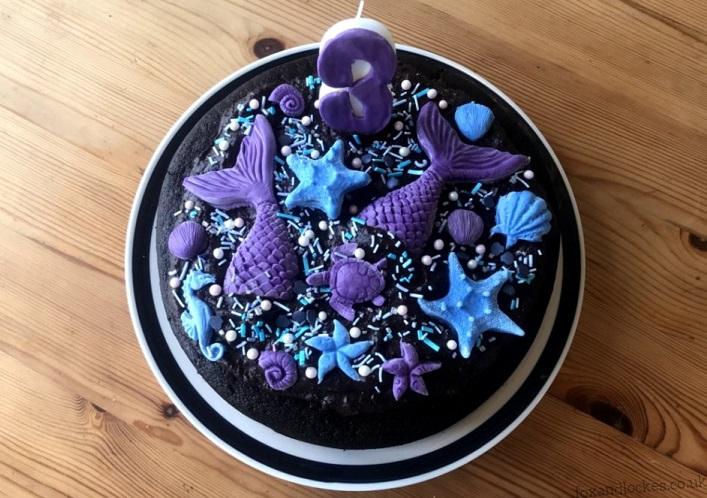
But it is the most delicious cake, so I went back to the ideas board I had created and looked again. Chocolate being brown also added an interesting element as it’s really dark and in my mind doesn’t exactly shout “mermaid”, but when I saw a doughnut that had purple and blue sprinkles the colours really popped on the chocolate topping, so I set about trying to find sprinkles in these colours. I hadn’t had any luck and was thinking I was going to have to buy a few different options and separate the colours I wanted (it would have been a long evening) when Super Aunt came through and found mermaid sprinkles in Tesco. Thank you Tesco and thank you Aunty Haha!
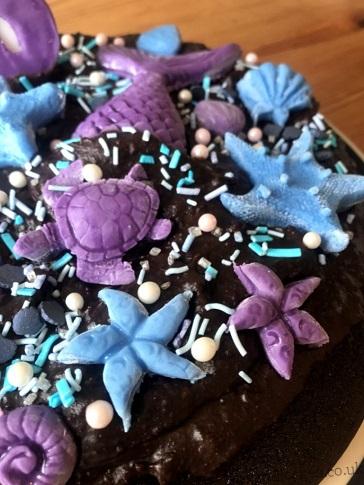
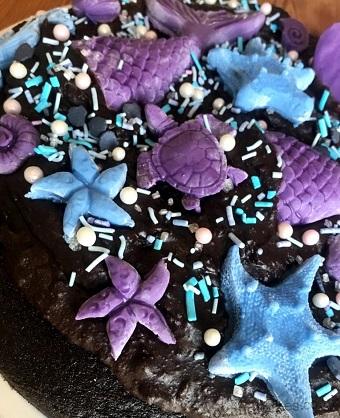
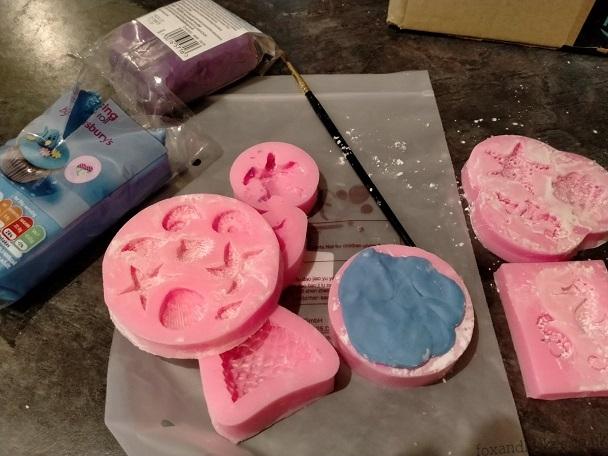
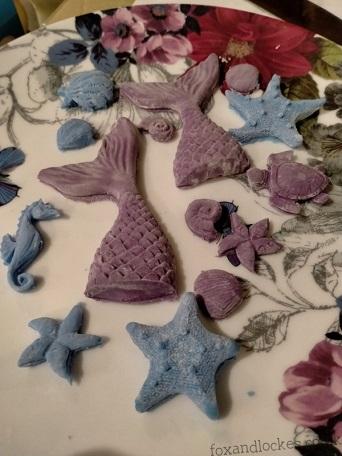
The beautiful sea creatures and mermaid tails were made using silicon cake moulds. Normally I would have used the little cake shop on Herne Bay high street to see if they sold anything like this, but sadly they are closed, so these came from Amazon. I have never used icing moulds before but I will definitely get more if specific requests are made as they were super easy to use and really added a level of quality to the result. I will be using these moulds again for my own birthday cake next year, I just want to have the cute little turtle all over it!
Ingredients:
Chocolate Frosting:
- 60ml/2 tbs water
- 75g/2.5oz vegan butter
- 50g/2oz brown sugar
- 1.5 tbs cocoa powder
- 150g/5 .5oz vegan chocolate chips
Cake:
- 225g/8oz plain flour
- 1.5 tsp Bicarbonate of soda
- 1/2 tsp salt
- 75g/2.5oz cocoa powder
- 250g/9oz Brown sugar
- 350ml warm water
- 90ml cold pressed rapeseed oil
- 1.5 tsp cider vinegar
- 1 tsp vanilla extract
Decorations:
- Coloured icing of choice (amount dependent on what you are making)
- Sprinkles
Instructions:
Start with the frosting:
- Put all of the ingredients except the chocolate into a pan on a low heat and mix together, heating through until warm.
- Increase the hob temperature to medium and add your chocolate chips, stirring until they have melted, and a smooth frosting is created.
- You need to leave the frosting to completely cool down. It will thicken as it cools.
The cake:
- Set the oven to 170C or 160C fan and grease a loose bottomed 8-inch cake tin.
- Measure the flour, bicarbonate, salt, cocoa and sugar into a mixing bowl. Using a fork, stir until they are well combined.
- In a measuring jug add the hot water, oil, vinegar and vanilla extract. Mix them together quickly with a fork.
- Pour the wet ingredients into the dry, stirring as you go to avoid lumps, before putting in the tin and then straight into the preheated oven. This is a very loose mixture, so don’t panic if it looks really wet.
- Cook for 35 minutes.
- Remove from the oven and leave to cool. I leave it in the tin for 10 minutes before removing the sides and then another 25-30 minutes before I slide it off the bottom of the tin.
- Once the cake has completely cooled you can add the chocolate frosting.
Mermaid decorations:
- Dust your moulds well with cornflour to stop the icing from sticking.
- Roll the icing between your hands to get it smooth and push it into each mould. For the bigger shapes I rolled over the mould with a rolling pin to make sure the icing was fully filling the mould.
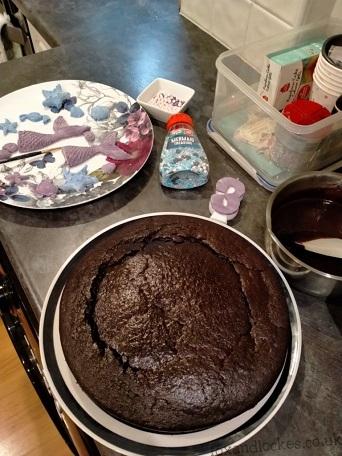
- Slowly peel the mould back and help the decoration out. Place on plate dusted with cornflour for it to harden.
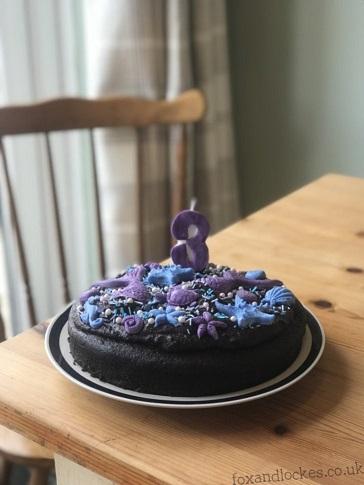
- Once I had made all of the moulds I left them to harden for 2 hours before adding them to the top of the cake and liberally and merrily covering with the mermaid sprinkles.
A few notes about the mermaid decorations
- I used shop bought icing to get the colours I really wanted, and silicon moulds for the shapes. You could of course make your own coloured icing and free-hand the shapes, dependent on how artistic you are and how much time you have available.
- The decorations come out of the moulds with a bit of the cornflour on them. I found that if I brushed this off straight away it removed some of the icing patterns as the icing was still soft, but if I waited for 5 minutes the icing hardened enough to remove it without changing the pattern. I also found that my watercolour paintbrush was the best tool for removing the corn flour.
- When I had a mould with lots of options in it (see photo above centre) I could only use one at a time, because you can’t bend the mould to get your design out when all the shapes are filled with icing – or at least I couldn’t.
My little girl was so thrilled with this cake, and as a Mama could you really ask for more?
I hope this inspires you to give something creative a go.
Livvy and Summer


